Example Limewash Projects in Austin

The four examples below match the age and type of Austin housing. About two in three homes here were built between 1980 and 2019, and nearly half are in buildings of five or more units, so the list runs from a 1980s house and a 1990s family room to a 2010s condo, plus a restaurant.

They are examples, not past jobs, and no client or address stands behind them. Each one is built from the preparation that surface usually needs, how Austin heat shapes the schedule, and current price ranges, so you can judge your own project before asking for a quote.

Limestone front and chimney on a 1980s ranch house

Example project
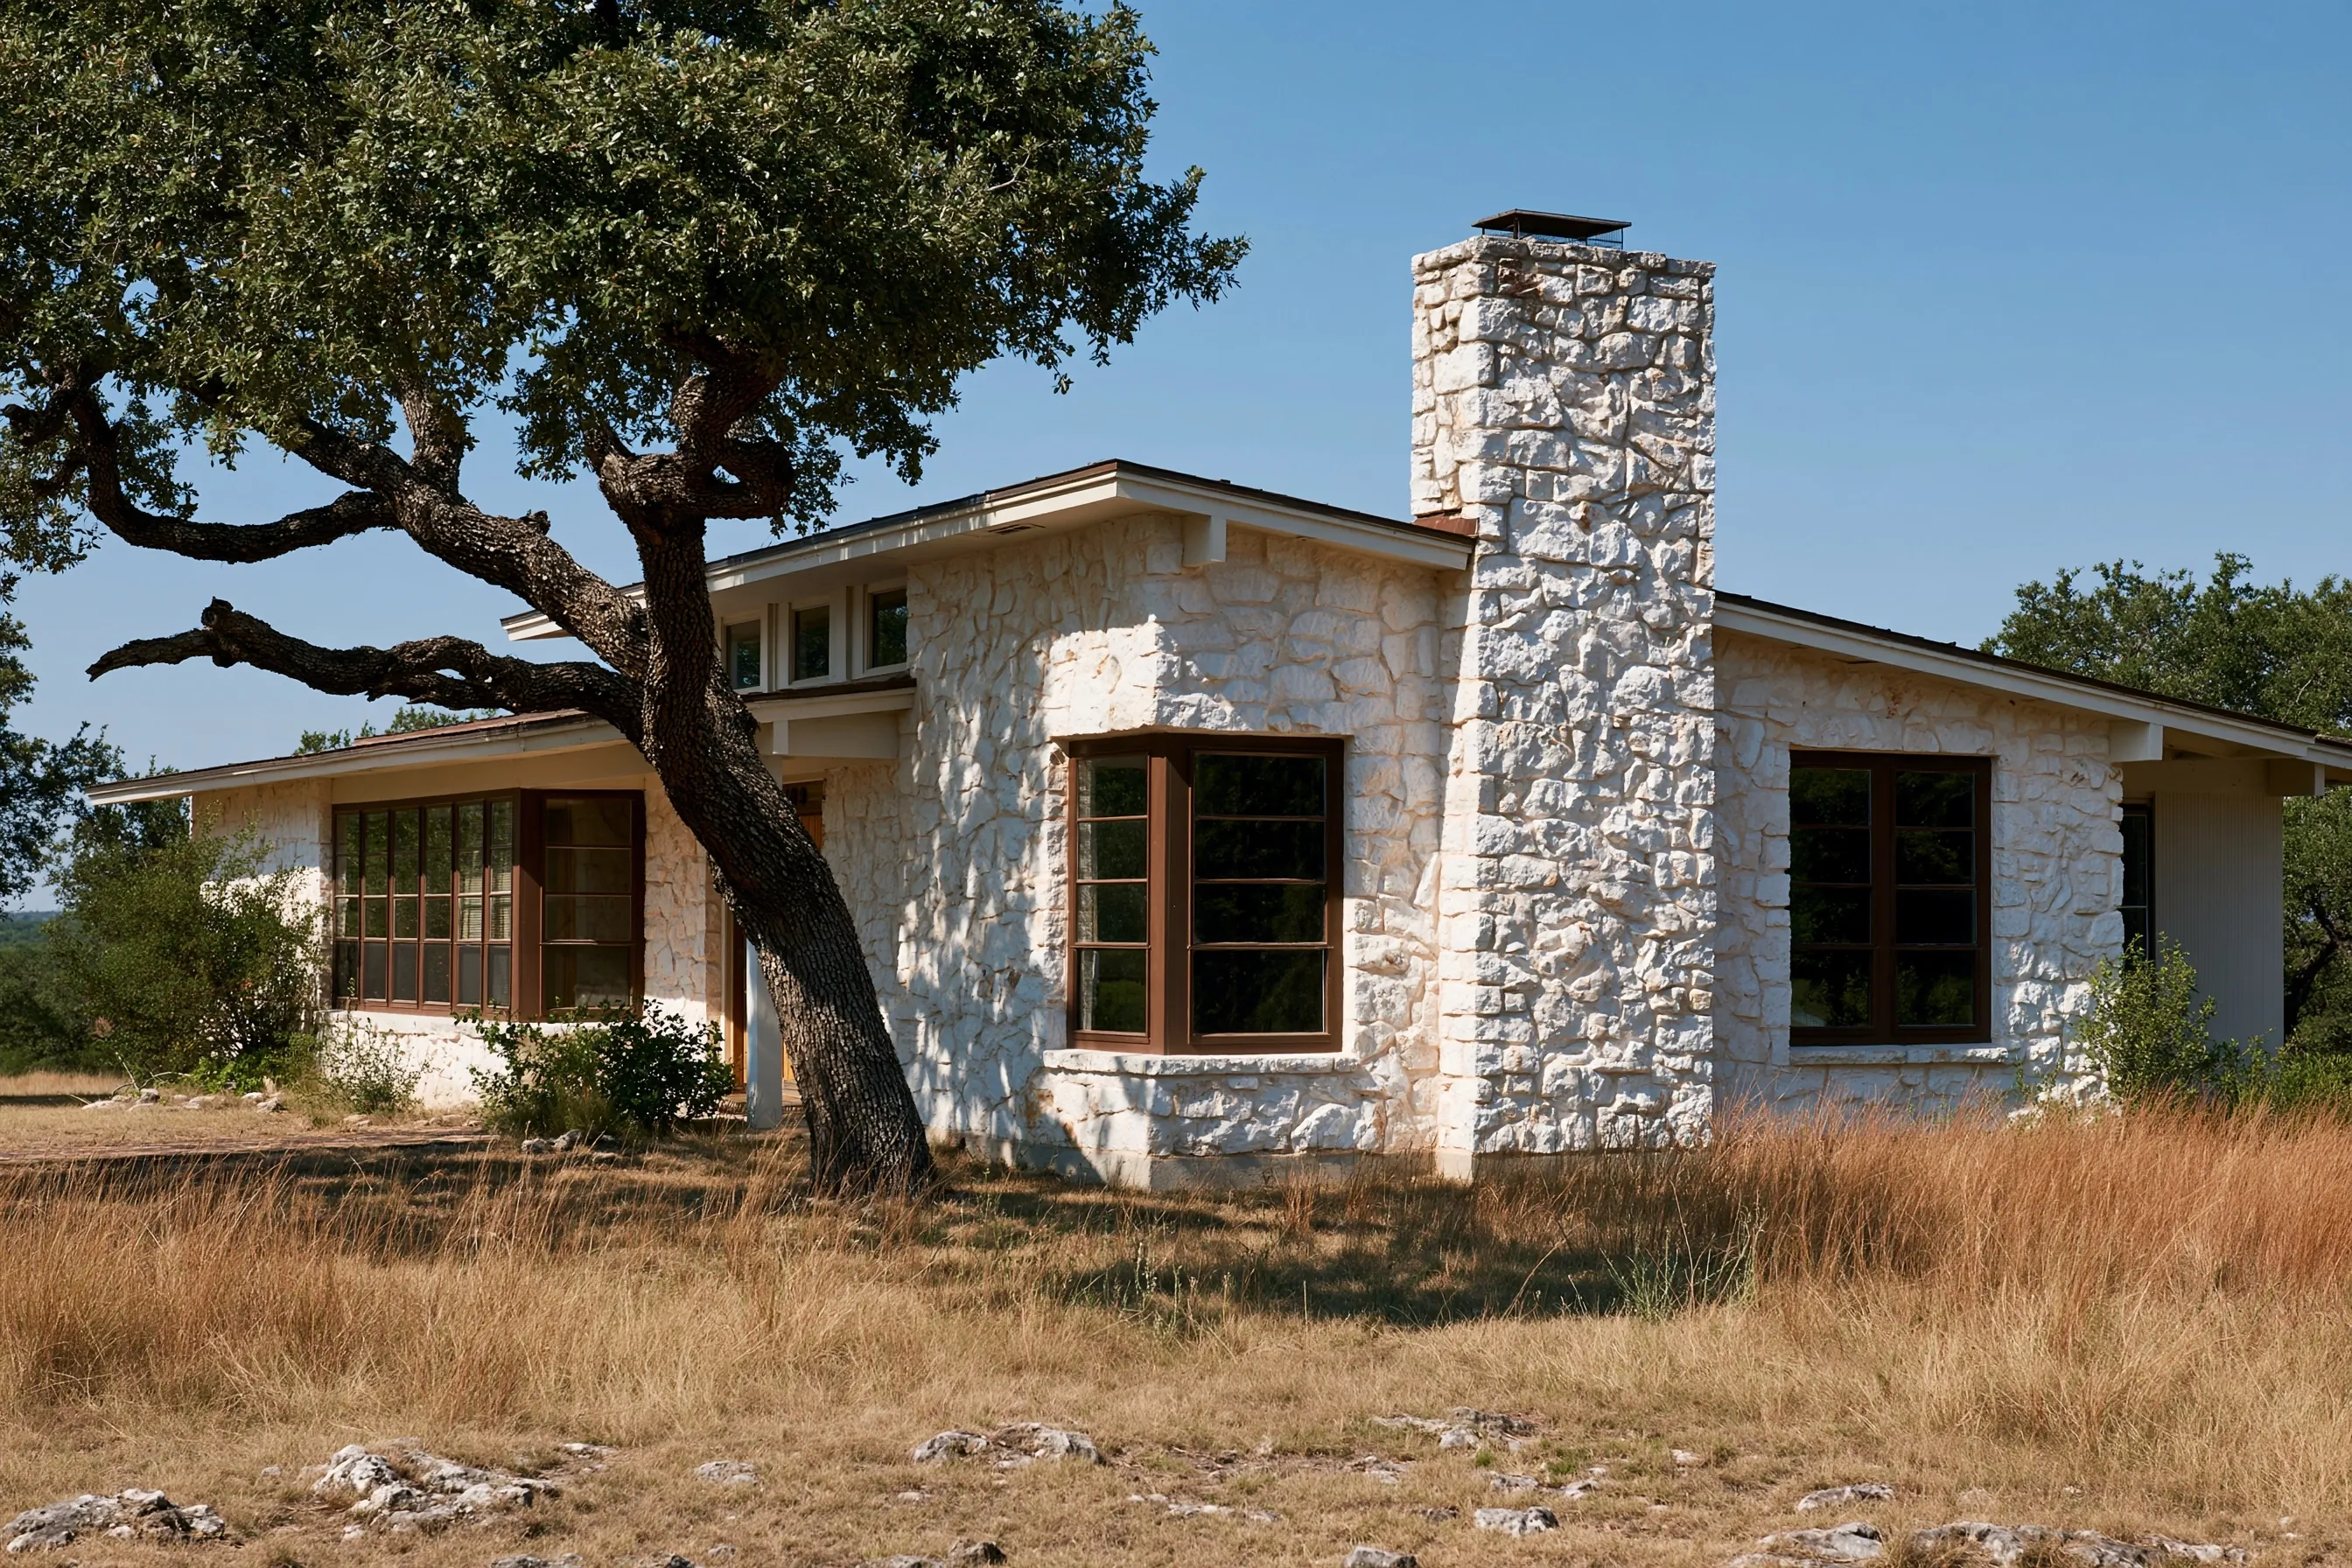
Single-story house with chopped limestone walls and a tall stone chimney limewashed white, beside a live oak in dry grass
Home
1980s single-story house with a live oak in the front yard
Original request
Even out patchy cream limestone without painting it
Surface
Chopped limestone on the front walls and the chimney
Area
About 500 sq ft of stone
Existing finish
Bare limestone, dusty, with some darker weathered pieces
Finish
White limewash, a thinned first coat and one fuller coat
Timeline
Four working days, coats brushed only while the wall is in shade
Estimated cost
$3,200

Scope of work

Washing the stone with a garden hose and soft brushes; a water test on several stones; protection of the windows, frames, trim and shrubs; dampening before each coat; a thinned first coat and a fuller second coat worked into the joints; ladder work on the tall chimney; rinsing glass and frames at the end.

Project overview

In this example, the front of the house is chopped cream limestone, but years of sun and rain have left some pieces darker than others, so the wall looks patchy from the street. The owners want it calmer and lighter while it still reads as stone, which rules out masonry paint.

Raw limestone usually soaks up limewash well, so the first coat is thinned to pull the colors together, and the second goes on fuller only where pieces still stand out. The front gets the afternoon sun, so every coat is brushed in the morning while that wall is still in shade.

The goal

The goal is a calm white front where each chopped stone keeps its shape and shadow, and the chimney matches the wall instead of standing out.

Process

  1. Two weeks before Water drops on several stones to check they absorb, and a thin and a full sample brushed low on the chimney.
  2. Day one Stone washed down, windows, frames and shrubs covered, and the wall left to dry.
  3. Day two Wall dampened in the early morning and the thinned first coat brushed on before the sun reaches it.
  4. Day three Fuller second coat on the darker pieces, then the chimney from ladders, again in the morning.
  5. Day four Covers off, glass and frames rinsed, and a look in late light, when the joints show any missed spots.

Planning right

  • Stone in full sun gets far hotter than the air. We coat each wall while it is in shade, not only on cooler days.
  • If water beads on a stone instead of soaking in, it has been sealed or is too dense, and limewash will not bond there without more preparation.
  • Turn off sprinklers that reach the wall until the limewash has had the dry period its maker asks for.
  • Exterior limewash thins slowly over the years. A new coat later goes straight on, with no stripping.
Request a free quoteMore about limewash stone

Clay-beige feature wall in a 2010s condo

Example project

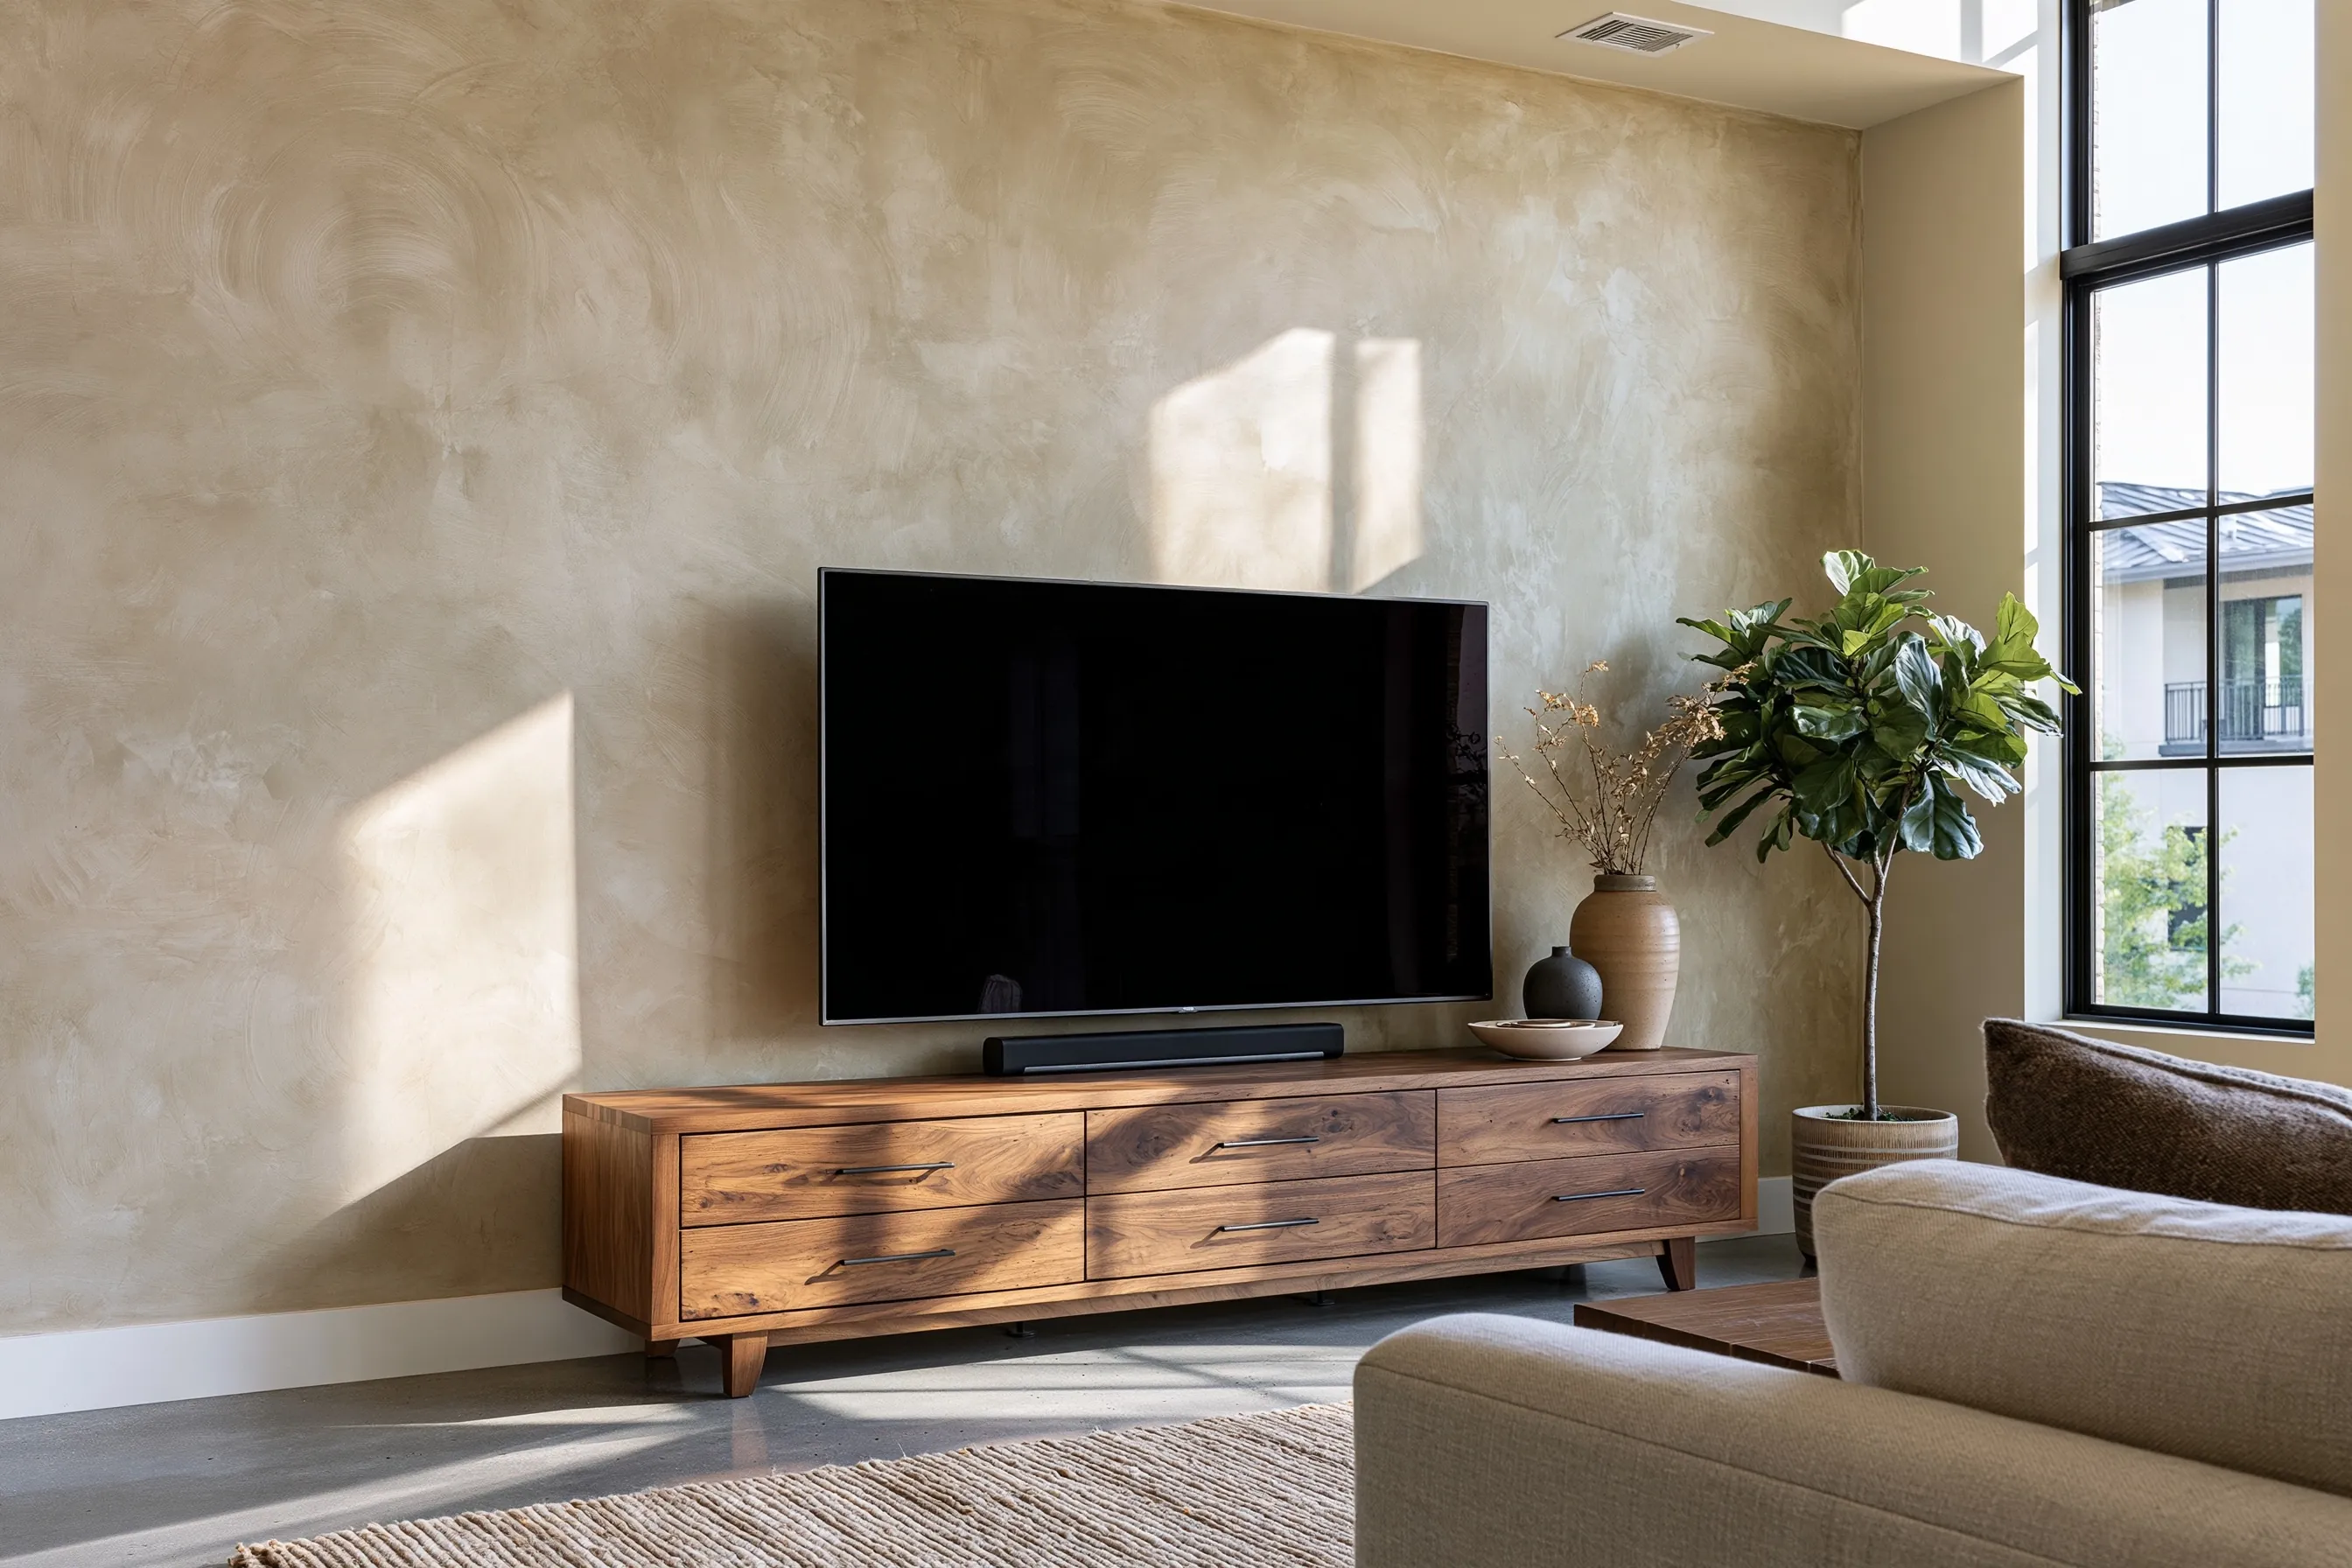
Condo living room with one long clay-beige limewash wall behind a wall-mounted TV and walnut media console, on a concrete floor
Home
2010s condo, open living room with a concrete floor and a tall window
Original request
One warmer wall in the living room, without wallpaper
Surface
The long living-room wall behind the TV and media console, painted drywall
Area
About 140 sq ft of wall
Existing finish
Flat white latex paint
Finish
Mineral primer, then a clay-beige lime paint made for interiors, two coats
Timeline
Two working days
Estimated cost
$1,050

Scope of work

Confirming work hours and elevator use with the building; protection of the concrete floor, window and furniture; taking down the wall-mounted TV and rehanging it afterwards; cleaning and dulling the paint; the primer the product needs over latex; two brushed coats; clean-up at the end of each day.

Project overview

In this example, the condo has white walls, a gray concrete floor and a tall window, and the living room feels cool and bare. The owners want one wall with warmth and some movement in it, without wallpaper seams.

Limewash cannot hold onto latex paint by itself, so the wall first gets the primer system the chosen product calls for, then two coats of clay beige brushed in crossing strokes. The building sets the timetable, so work stays inside its allowed hours.

The goal

The goal is a warm clay-beige wall with soft clouding that anchors the living room and sits well with the concrete floor and walnut console.

Process

  1. Before work Boards in clay beige, warm sand and greige held against the wall and the concrete floor, morning and late afternoon.
  2. Day one Work hours and elevator confirmed, TV taken down, floor and window masked, paint dulled and primed.
  3. Day two Two coats brushed corner to corner without stopping mid-wall, then masking off, clean-up and the TV rehung once the wall is dry to the touch.

Planning right

  • Ask your association about work hours, elevator use and contractor insurance before you book.
  • Pick where the color ends before work starts. An inside corner gives a clean edge; a stop in the middle of a wall looks unfinished.
  • Limewash is not scrubbable. Where hands or a sofa back touch the wall, a washable lime product or a topcoat is worth asking about.
  • Sun from a tall window shows brush marks at a low angle, so the stroke direction is planned for that light.

Request a free quoteMore about interior limewash walls

Red brick fireplace washed to chalk white, 1990s house

Example project

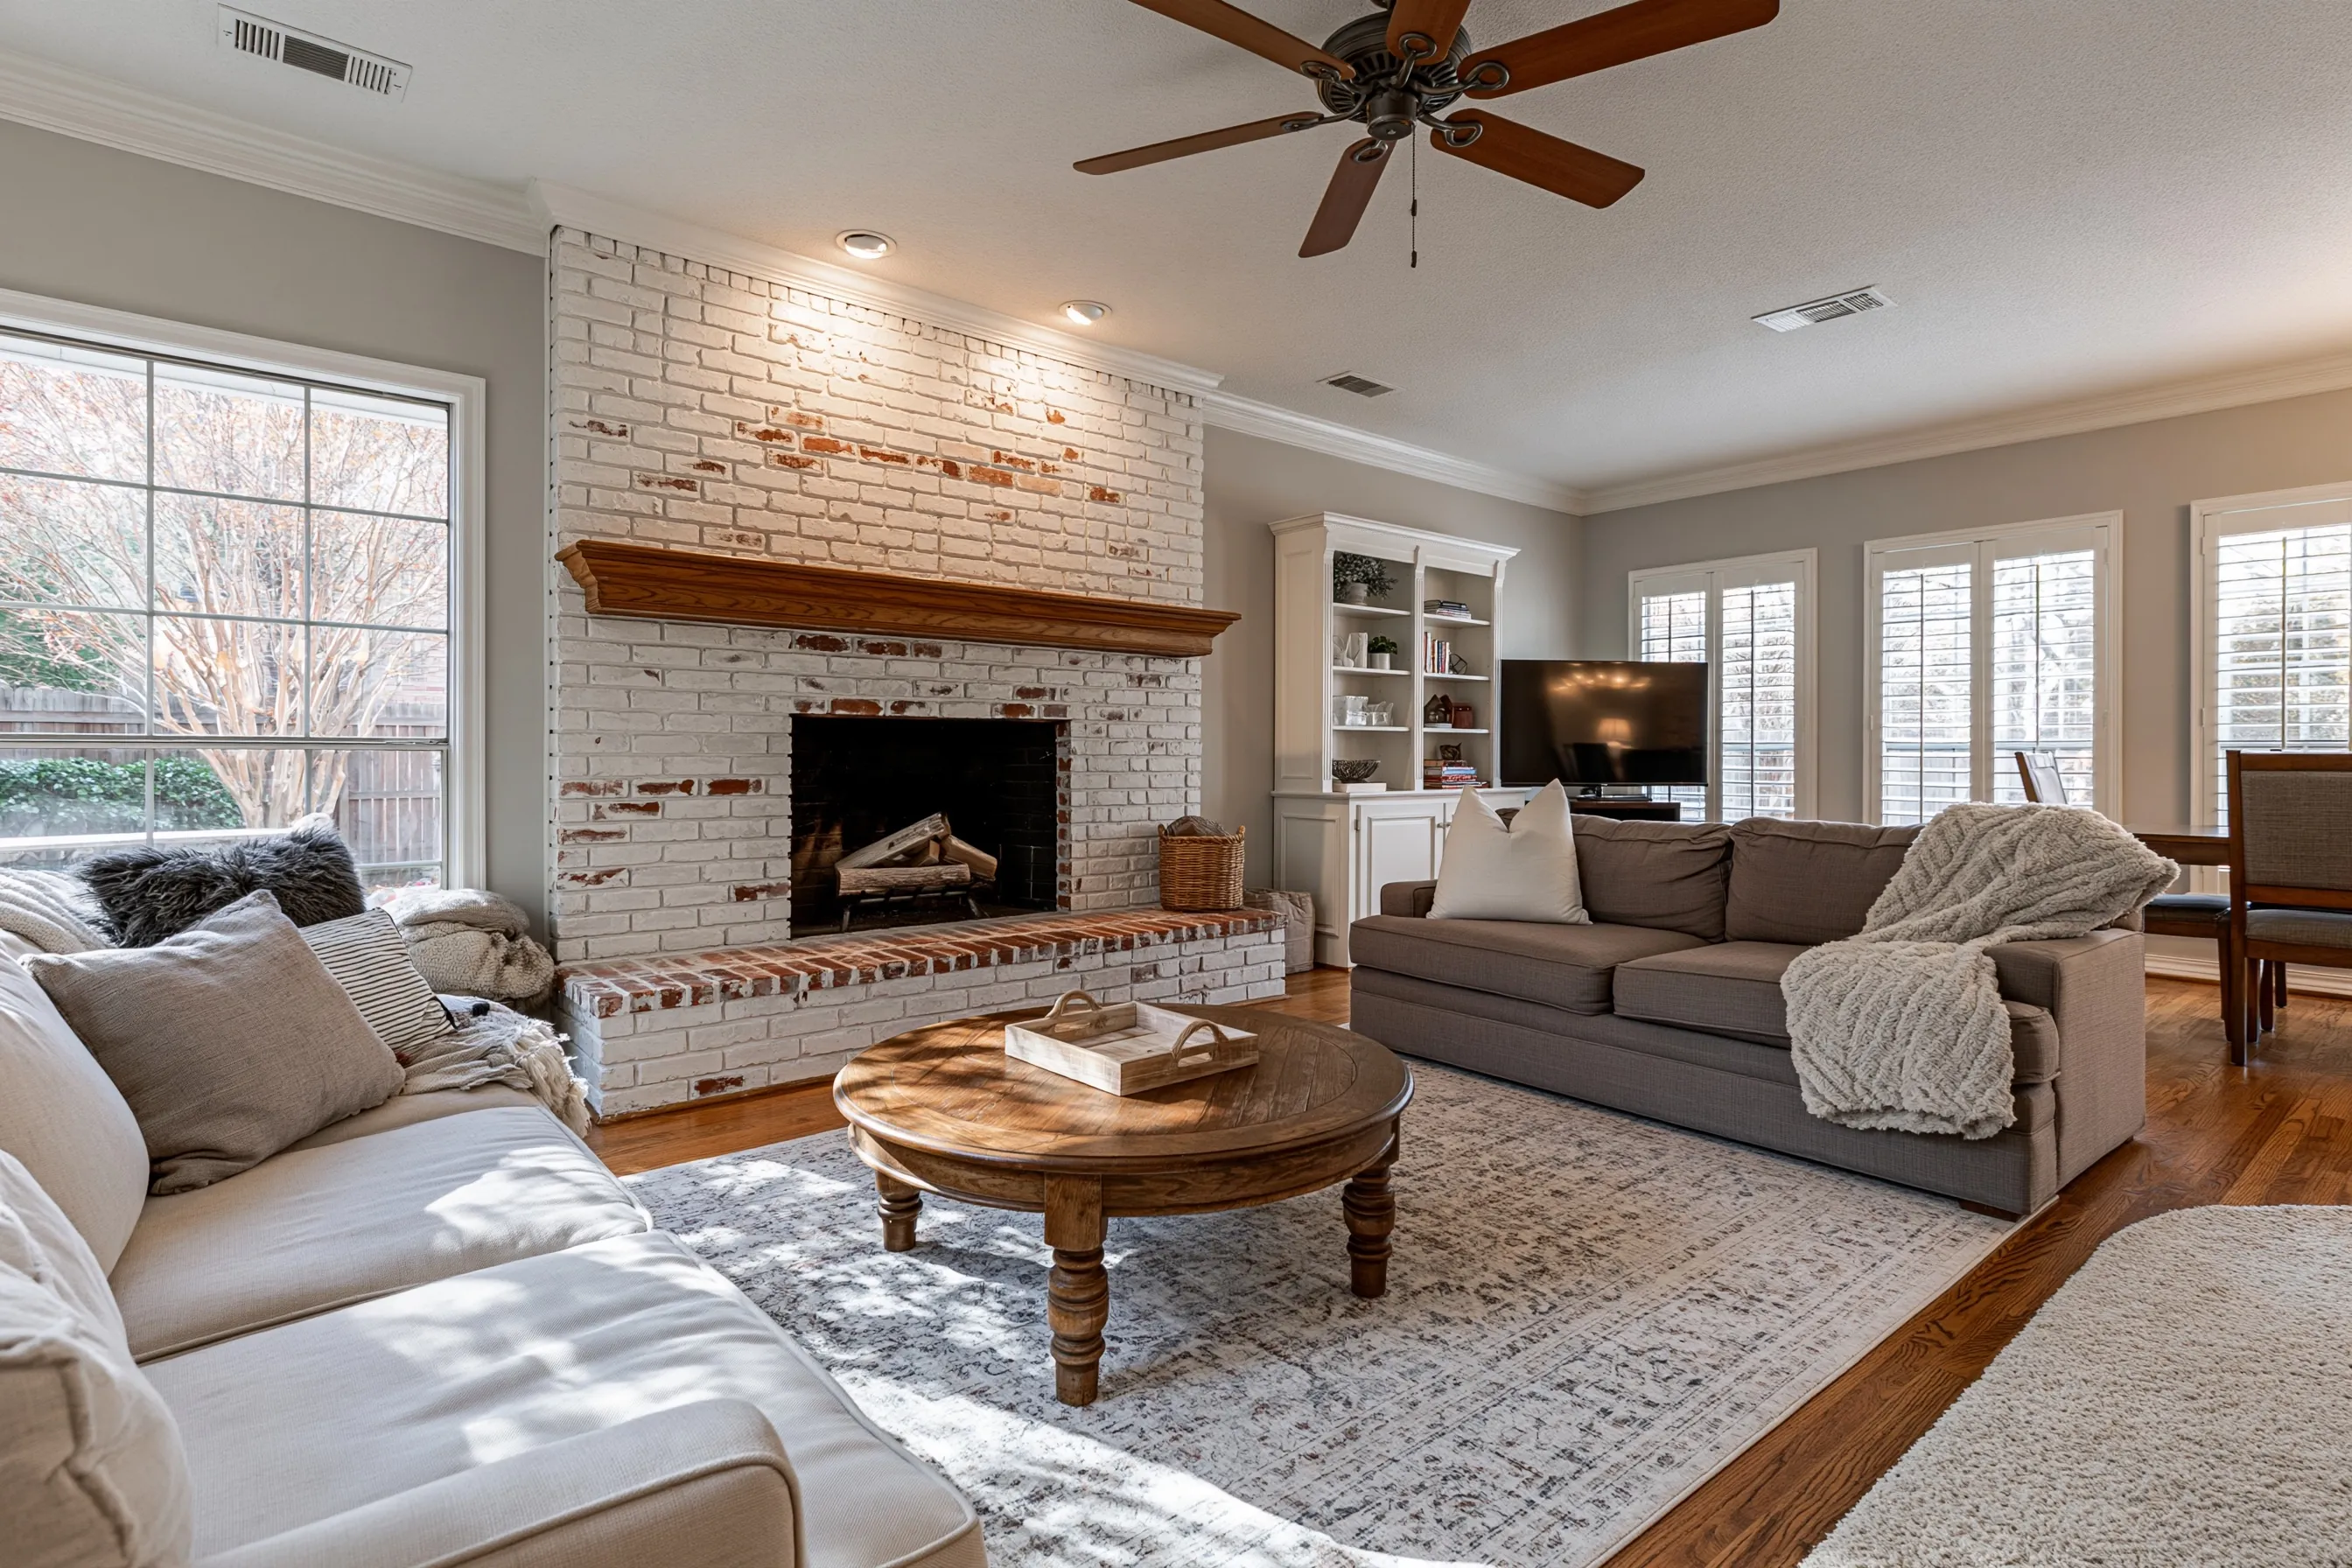
Family room with a full-height brick fireplace limewashed chalk white with red showing through, a wood mantel shelf and a bare red brick hearth top
Home
1990s house, family room with a ceiling fan and oak floor
Original request
Lighten the red brick but keep a little of its color
Surface
Full-height brick chimney breast above the raised hearth
Area
About 110 sq ft of brick
Existing finish
Bare brick, with smoke stains above the opening
Finish
Chalk-white limewash, two thin coats, the first partly washed back
Timeline
Two working days
Estimated cost
$1,400

Scope of work

Protection of the oak floor, rug, built-in shelves and mantel shelf; cleaning the smoke stains; samples on spare bricks; dampening and two thin brushed coats, the first partly washed back while still wet; clean-up. The inside of the firebox and the top of the raised hearth stay bare brick.

Project overview

In this example, the brick is a strong red that pulls every eye in the family room. The owners want it much lighter, but not a flat white block: some of the red should still show through in patches.

The plan uses a wash-back. The first coat is brushed on and, while still wet, partly wiped off the brick faces so red comes through, and a second thin coat evens out any patches that went too far. How long a coat can still be washed back depends on the product, so it is tried on spare bricks first.

The goal

The goal is a chalk-white fireplace with warm red showing through in patches across the bricks, light enough to sit with the rest of the room.

Process

  1. Before work Spare bricks brushed with one and two thin coats, one of them washed back, and compared in daylight and lamplight.
  2. Day one Floor and mantel protected, smoke stains cleaned, brick dampened, first coat brushed on and partly washed back.
  3. Day two A second thin coat where the red is still too strong, then clean-up.
  4. Afterwards The color dries lighter over several days. The fireplace can be used again once the product’s cure time has passed.

Planning right

  • Smoke stains bleed through pale limewash. They are cleaned off first, not covered.
  • We leave the inside of the firebox bare. Fire chars lime and coats it in soot.
  • The wood mantel shelf is masked so it keeps its own finish. In this example the raised hearth stays bare red brick; a hearth that is limewashed and used as a seat gets a clear coat the maker approves 10 to 14 days later.
  • A washed-back look is decided on a sample. Once the coat has dried, the brick cannot be uncovered the same way.

Request a free quoteMore about limewash fireplaces

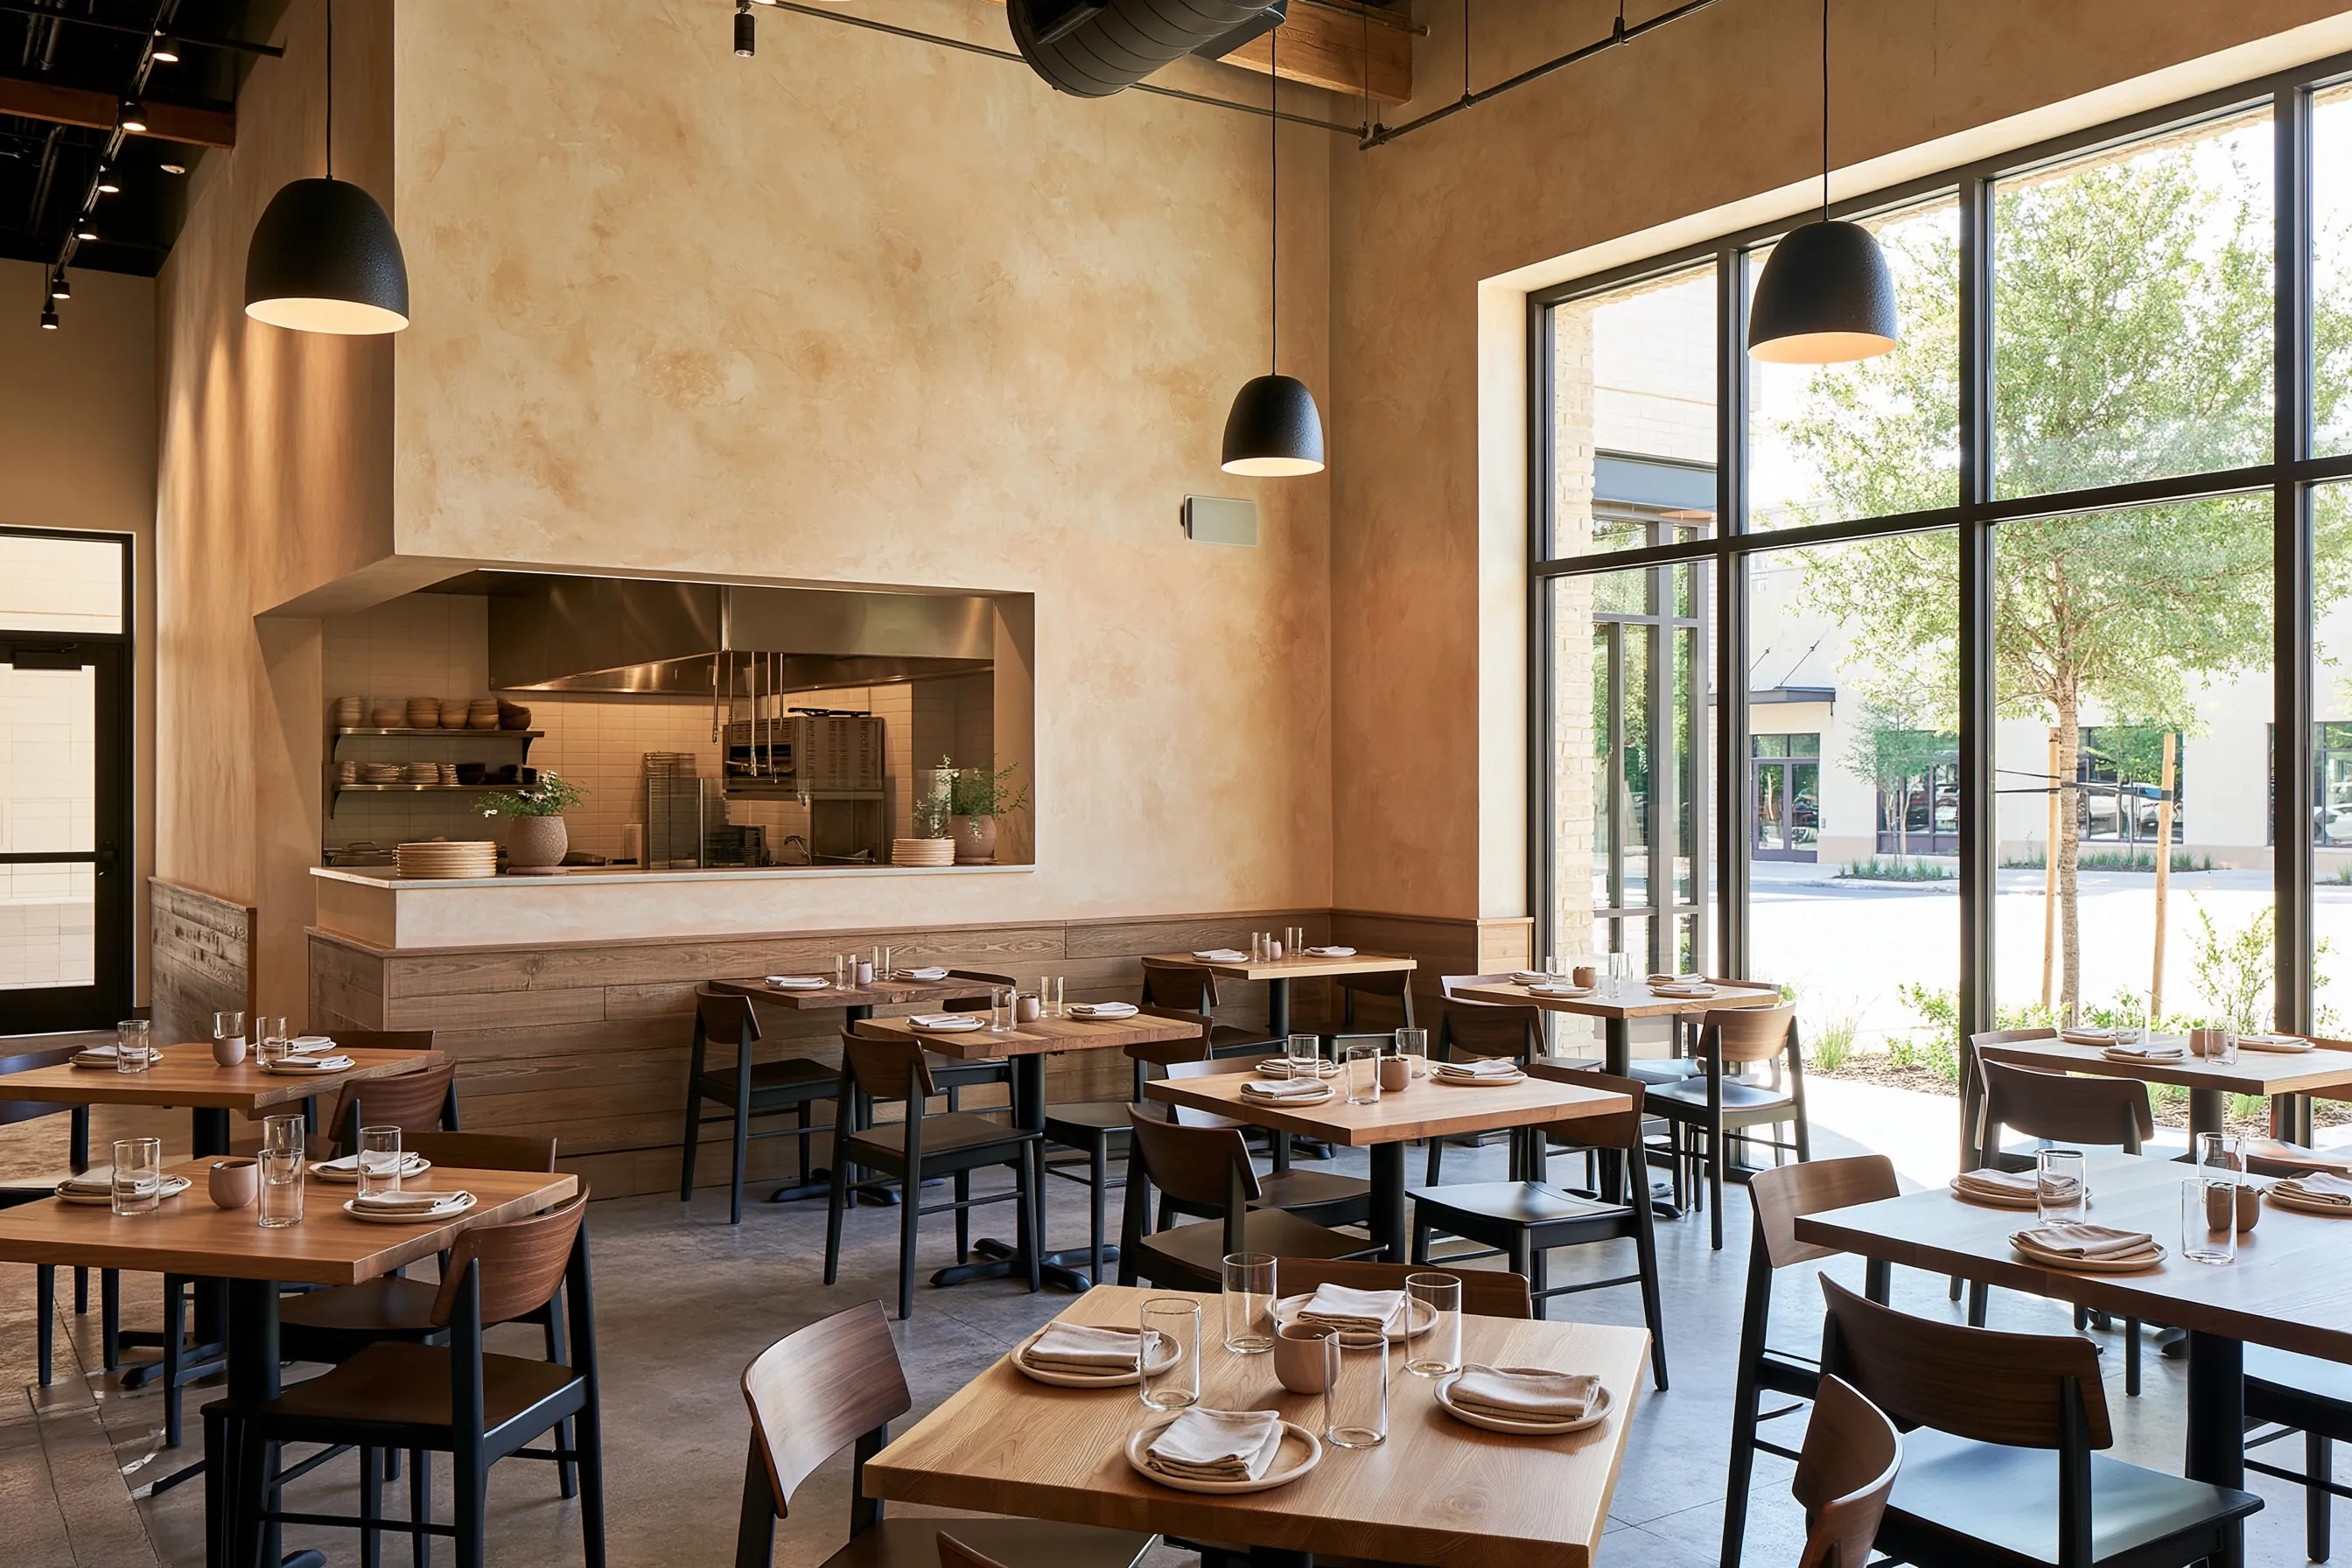
Ochre dining room walls in a casual restaurant

Example project

Casual restaurant with tall ochre limewash walls above wood wainscoting, black pendant lights, an open kitchen pass-through and tall street windows
Building
Casual restaurant, dining room with a pass-through to the kitchen
Original request
Warm walls with more character than flat commercial paint
Surface
Two tall painted drywall walls around the kitchen pass-through, above wood wainscoting
Area
About 450 sq ft of wall
Existing finish
Eggshell latex paint
Finish
Bonding primer, then ochre lime paint for interiors, two coats
Timeline
Three nights after closing
Estimated cost
$3,900

Scope of work

Work after closing on three nights; tables and chairs moved, floors covered and a scaffold tower set up for the tall walls; masking the wood wainscoting, the pass-through counter and the hood; cleaning grease around the pass-through opening; dulling the eggshell paint; the primer system the product needs; two brushed coats, each wall finished in one pass; the room reset before each opening.

Project overview

In this example, the restaurant’s tall white eggshell walls look flat above the wood wainscoting, and the owners want a warm ochre that works in daylight from the big street windows and under the pendant lights at dinner.

The dining room cannot close for days, so the work runs over three nights after service: one for preparation and primer, then one for each coat. The walls rise well above head height, so they are brushed from a scaffold tower, and grease around the kitchen pass-through is cleaned off before priming.

The goal

The goal is warm ochre walls with soft movement that look right from lunch to dinner, with the wood wainscoting taking the knocks from chairs below.

Process

  1. Before work Ochre boards viewed in daylight from the street windows and under the evening pendants.
  2. Night one Furniture moved, floors covered, scaffold tower up, wainscoting and counter masked, grease cleaned, paint dulled and primed.
  3. Night two First coat, one wall at a time, and the room reset before opening.
  4. Night three Second coat, tower down, masking off and reset.

Planning right

  • Plain limewash is not grease-proof. Inside the pass-through, the tile and stainless stay as they are; limewash stops at the opening.
  • Choose the color under both kinds of light. Ochre looks different in daylight than under warm evening bulbs.
  • Each wall is finished in one go, so the size of the crew is set by the biggest wall, not by the hours available.
  • If you lease the space, check whether the landlord has to approve a change of wall finish.

Request a free quoteAbout commercial limewash

More limewash finishes

More rooms, masonry and commercial spaces in limewash. These are concept images for comparing pale and deep colors before you look at sample boards on your own walls.

Interior walls and rooms

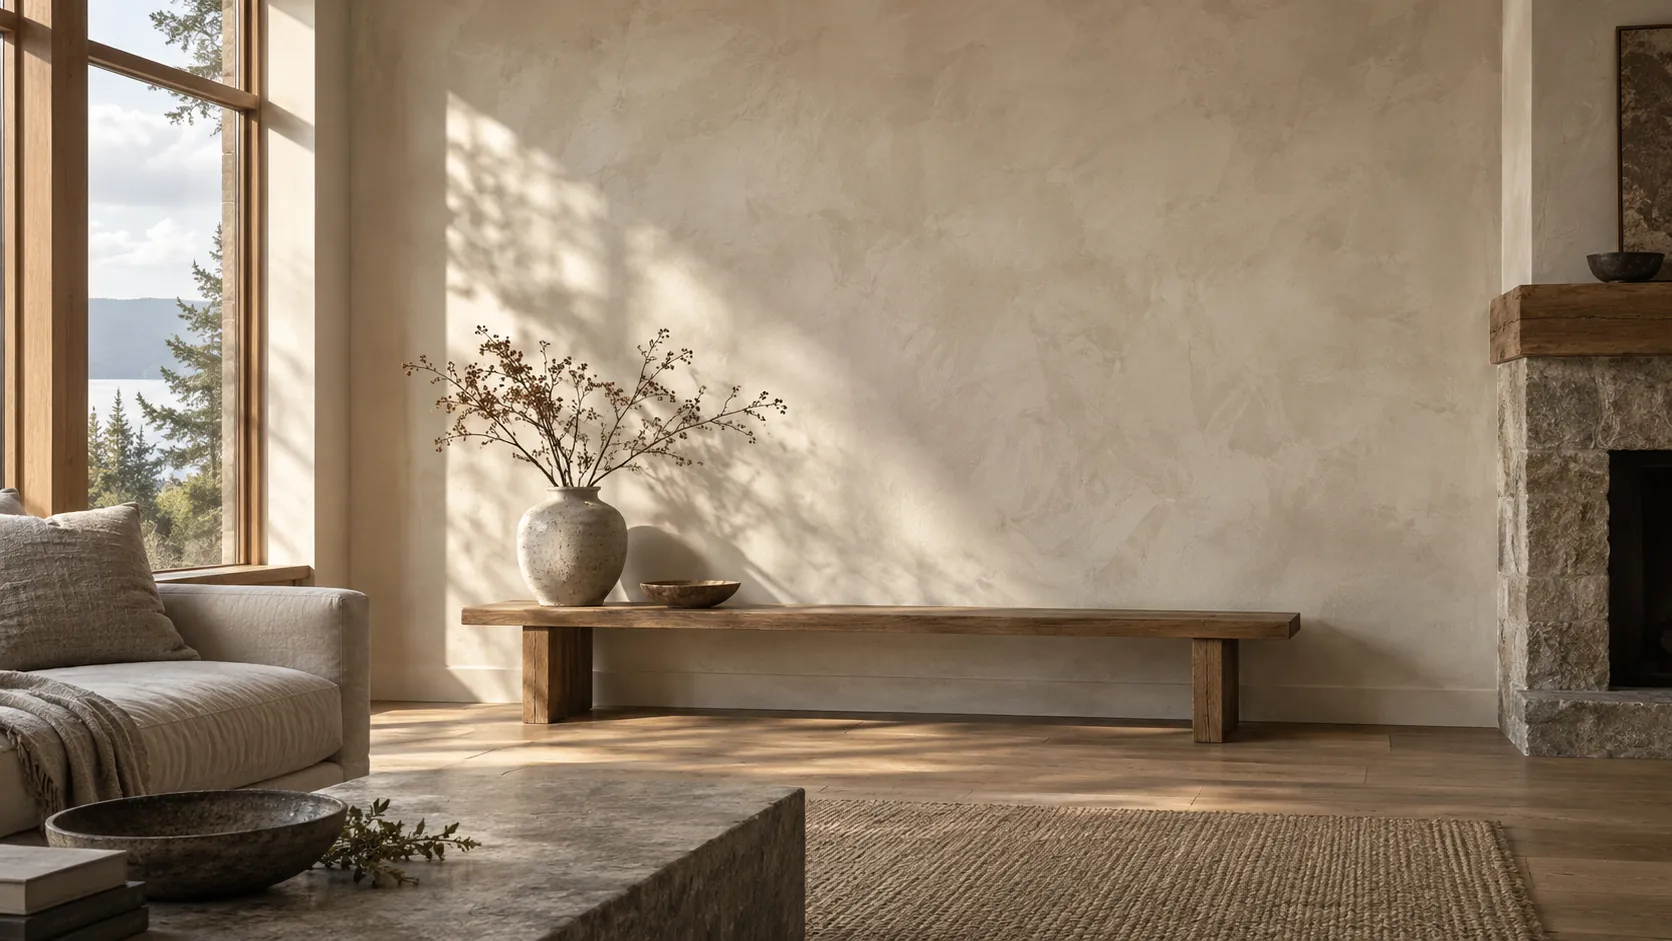
Ivory limewash on a living-room wall in low morning light
Warm ivory limewash wall in a living room
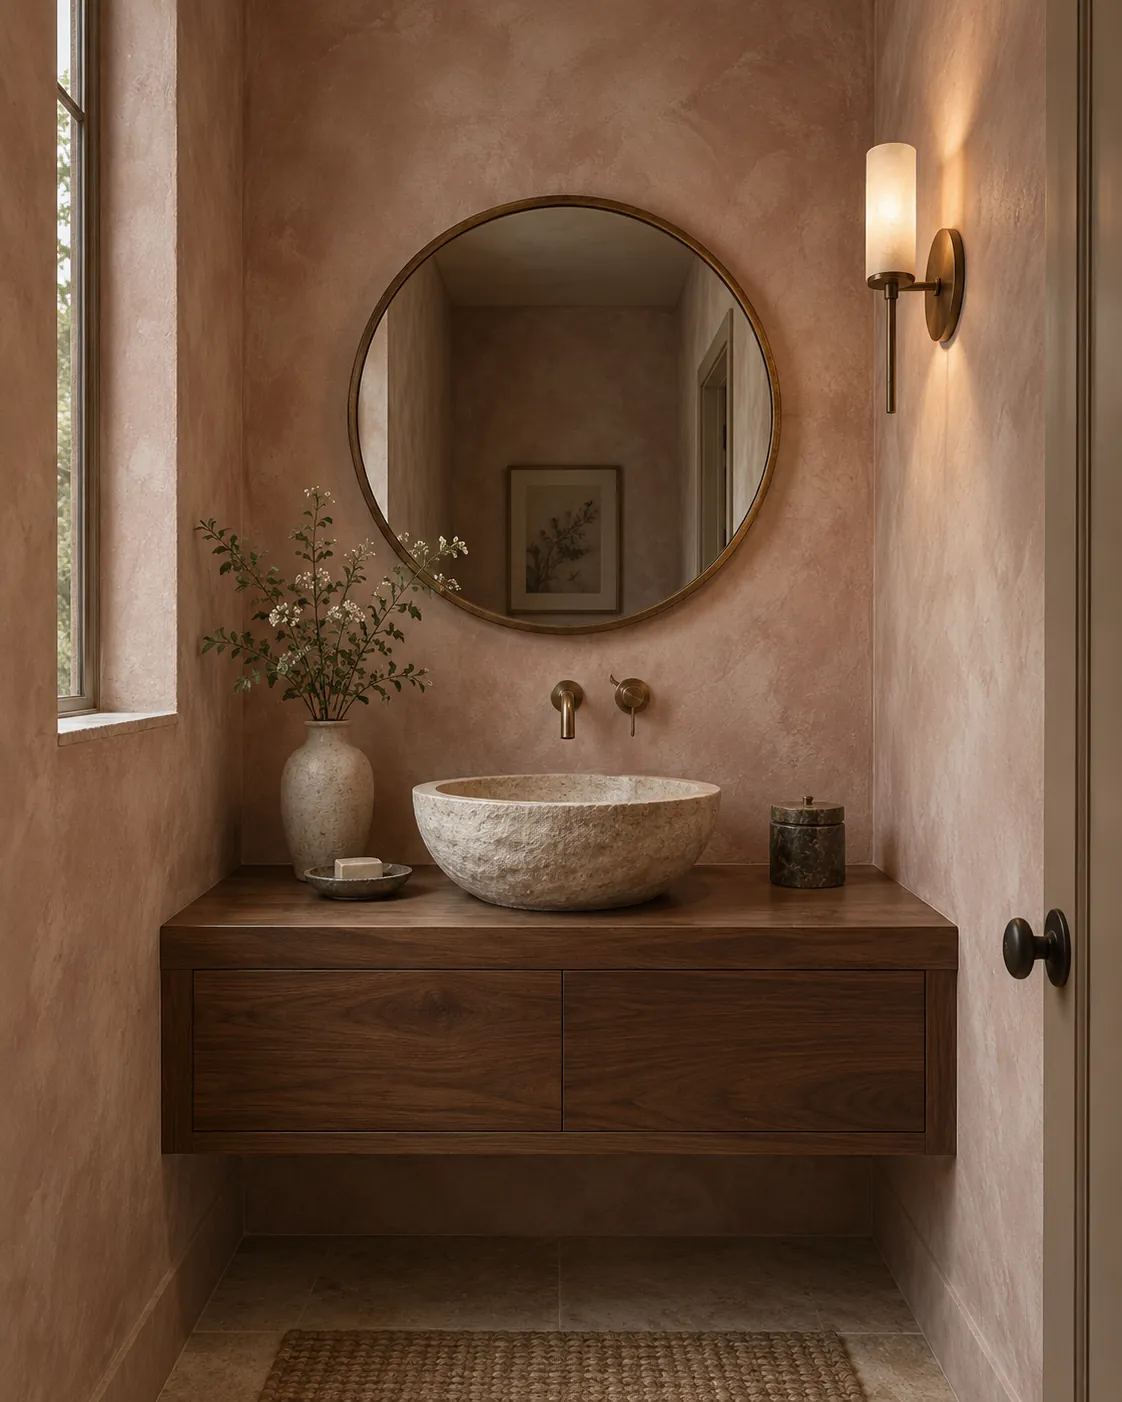
Powder room with clay-pink limewash walls and a carved stone basin
Clay-pink limewash in a powder room
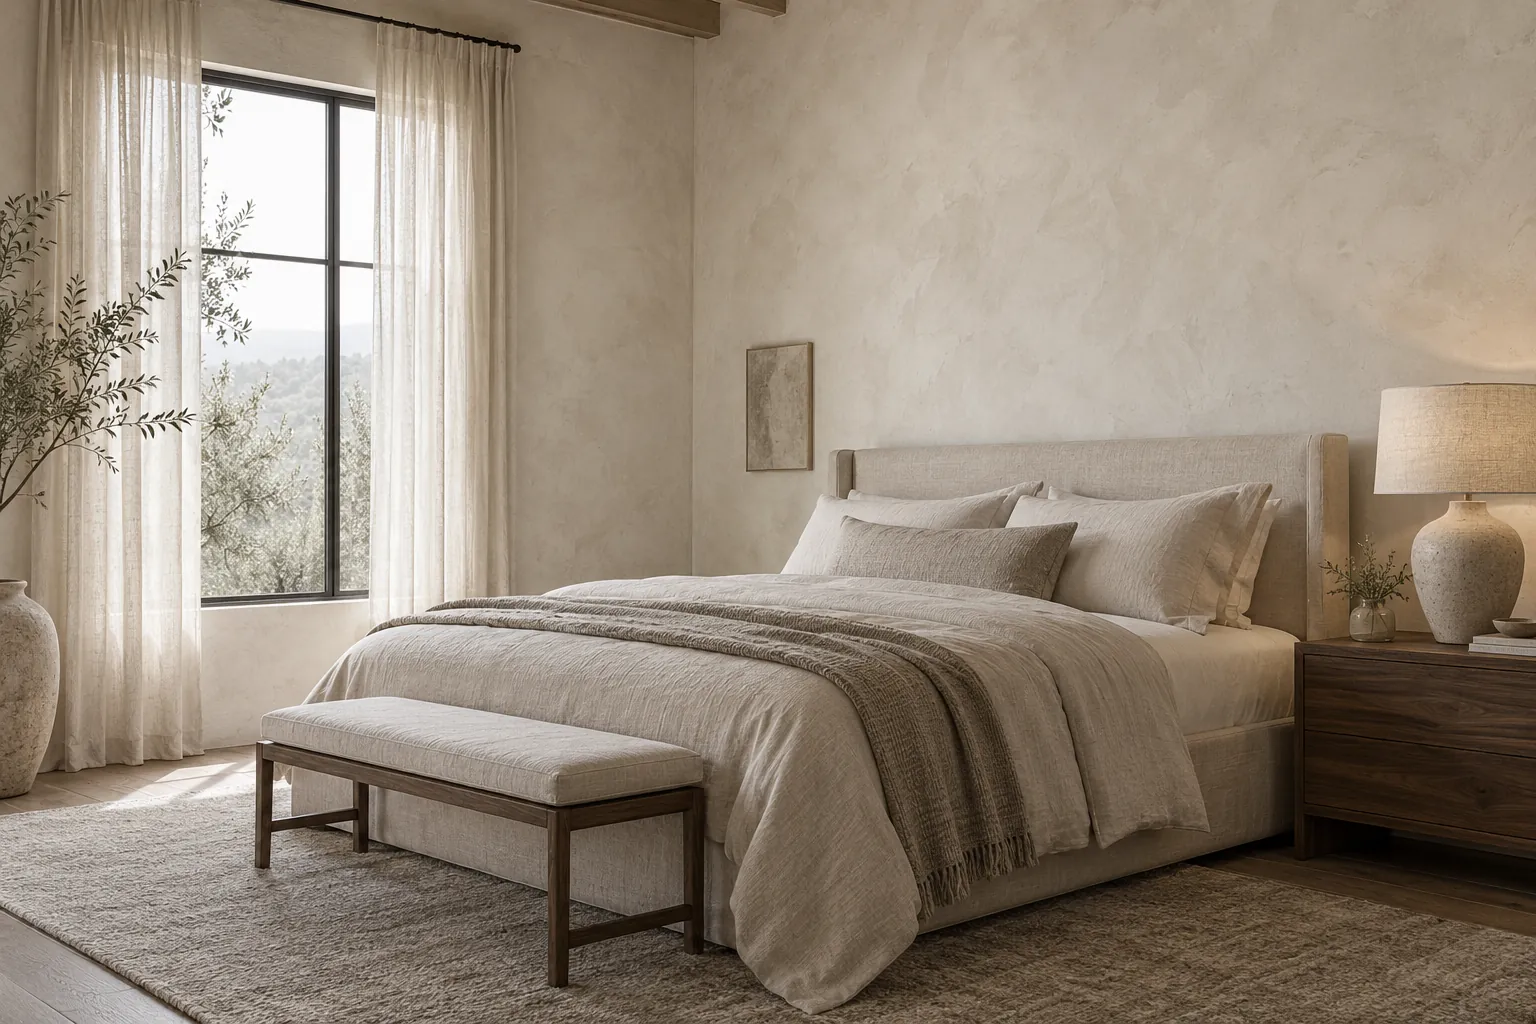
Bedroom with putty-white limewash walls
Putty-white limewash in a bedroom
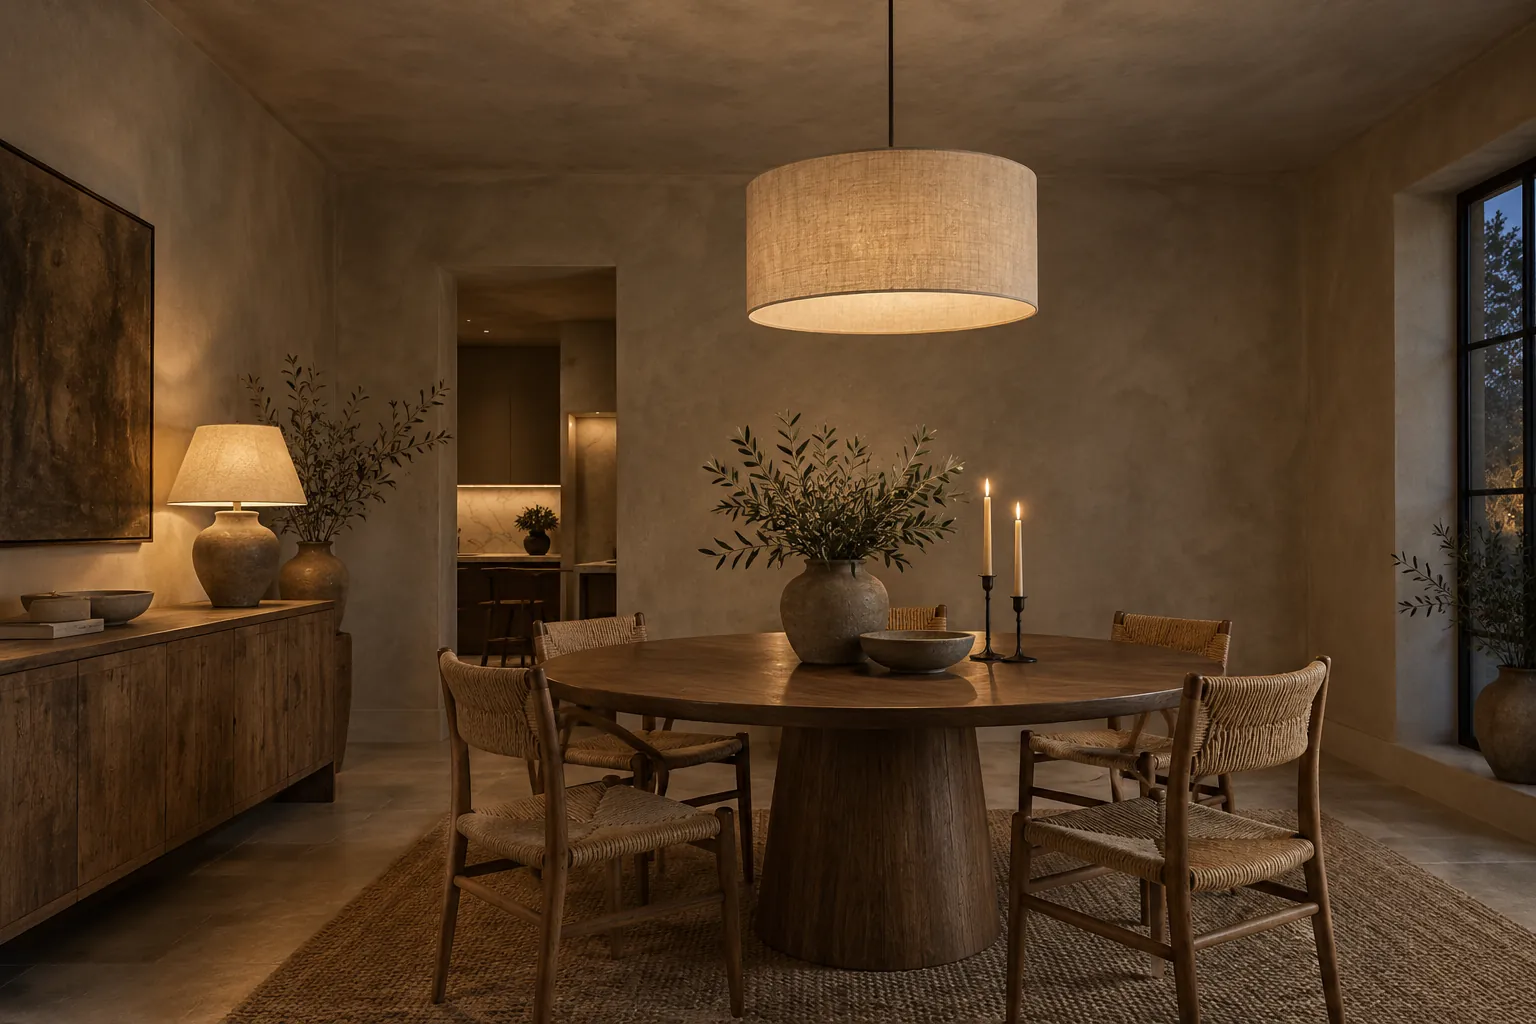
Dining room with walls and ceiling in mushroom limewash
Deep mushroom limewash on walls and ceiling
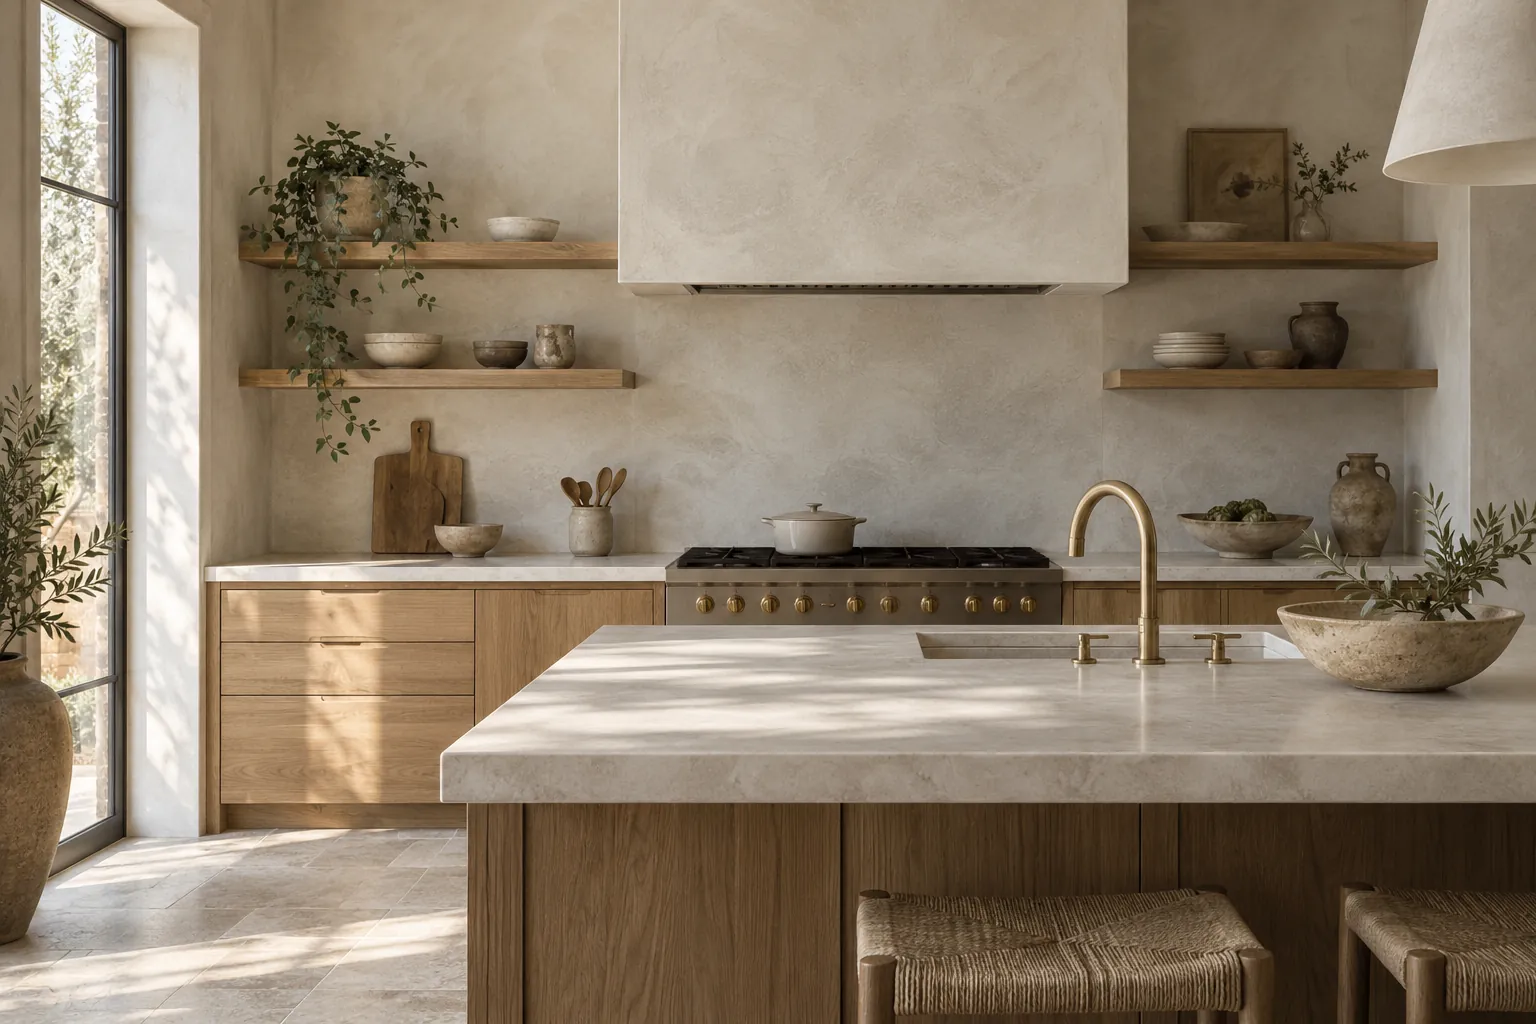
Kitchen with limewash range hood and wall behind open shelves
Creamy limewash on a range hood and kitchen wall
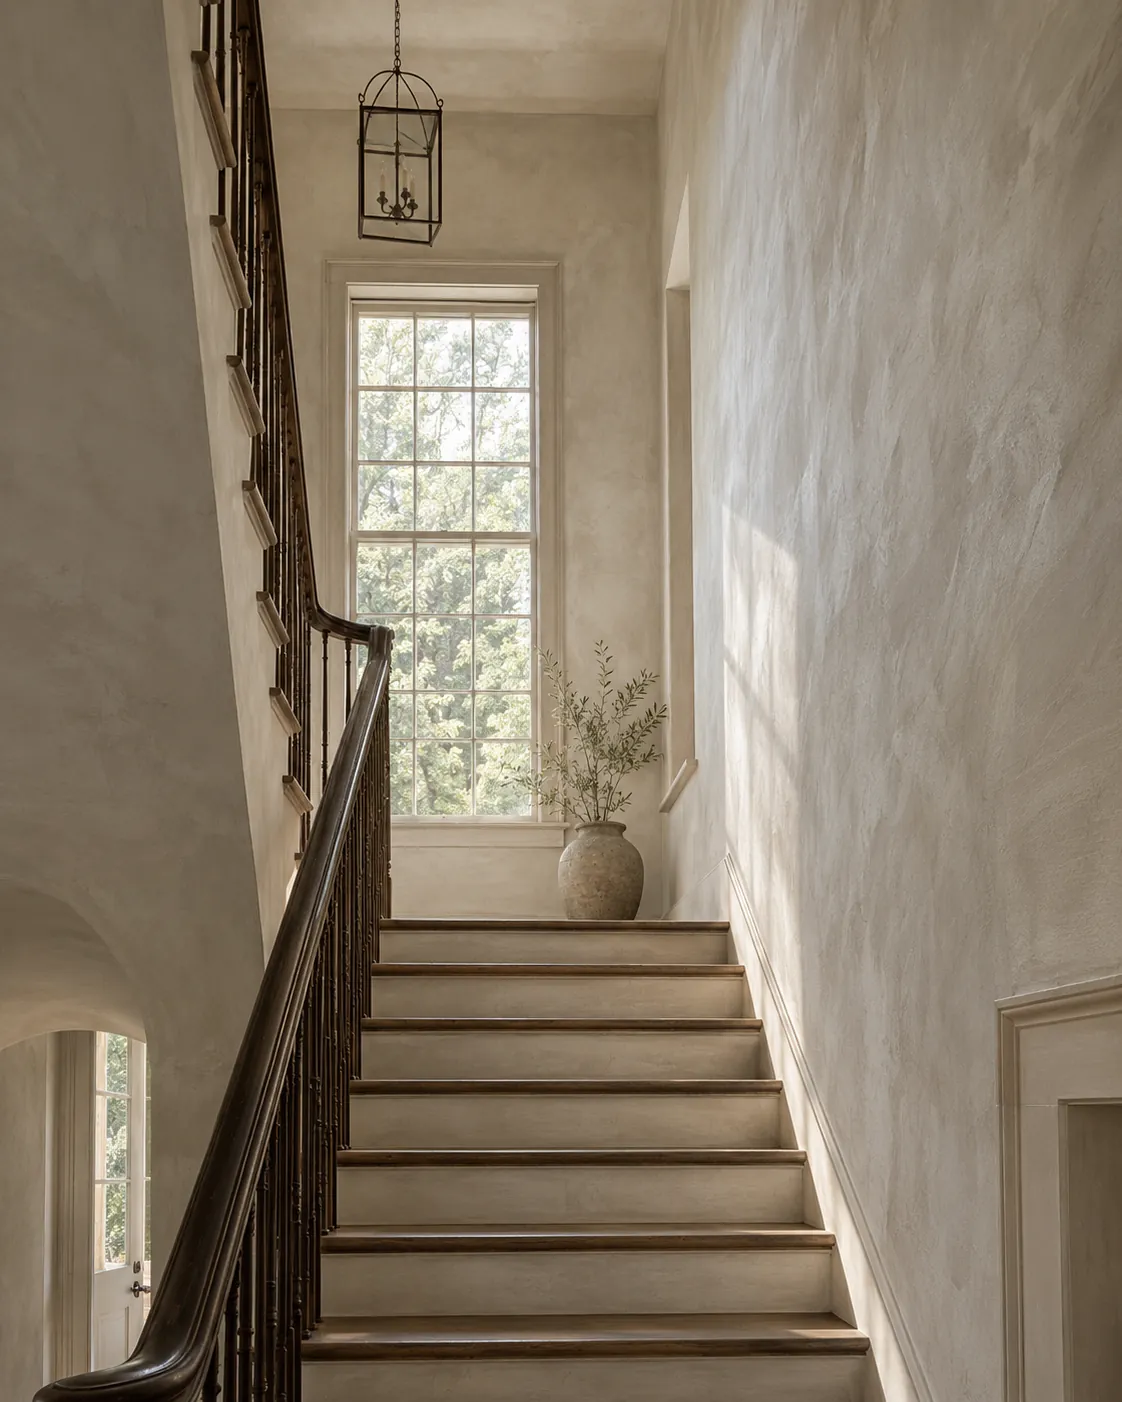
Stair hall finished in oatmeal limewash
Oatmeal limewash in a two-story stair hall
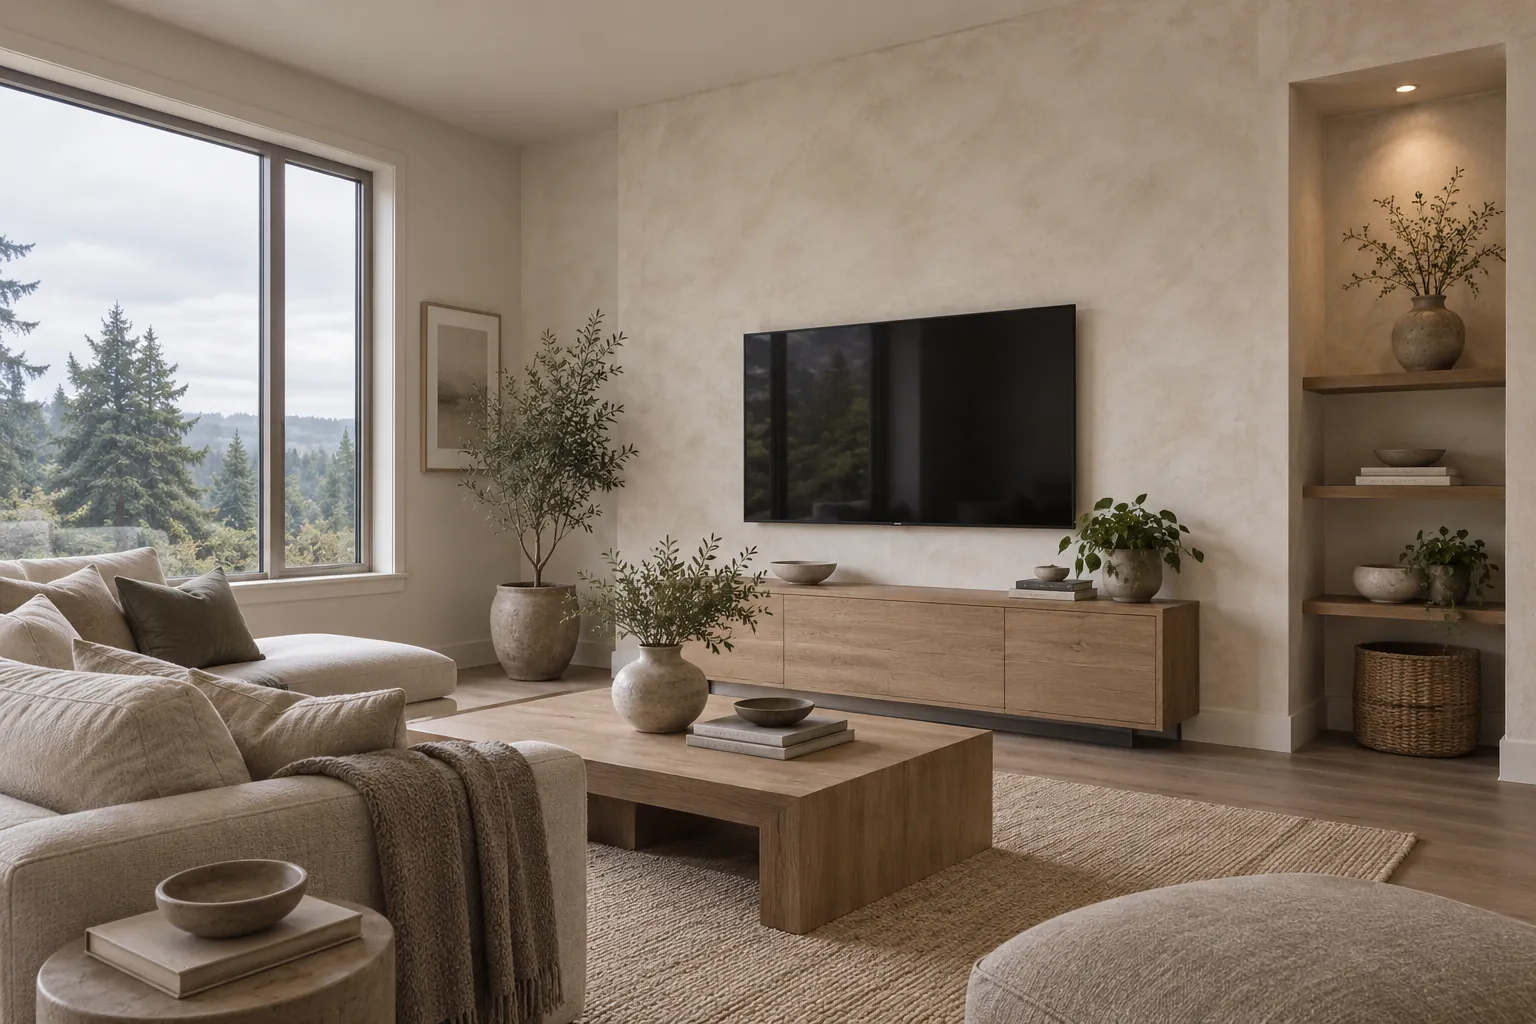
Family room with limewash over primed drywall
Warm-white limewash over primed drywall
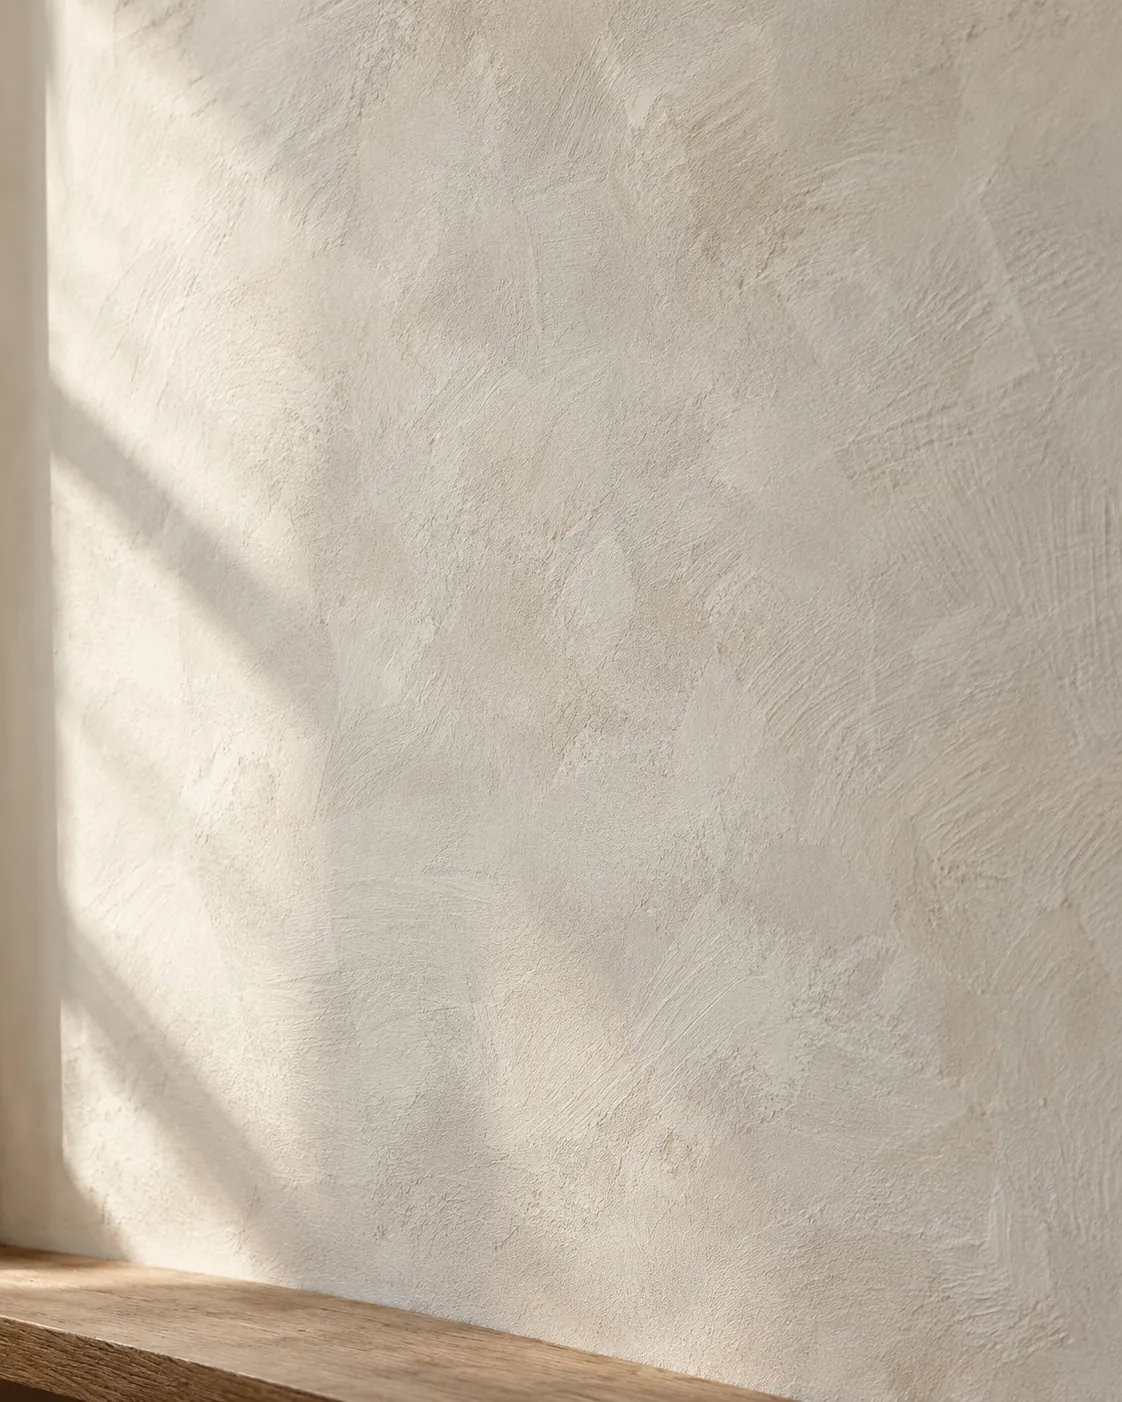
Close view of clouded limewash texture
Close detail of limewash brush movement

Masonry and commercial interiors

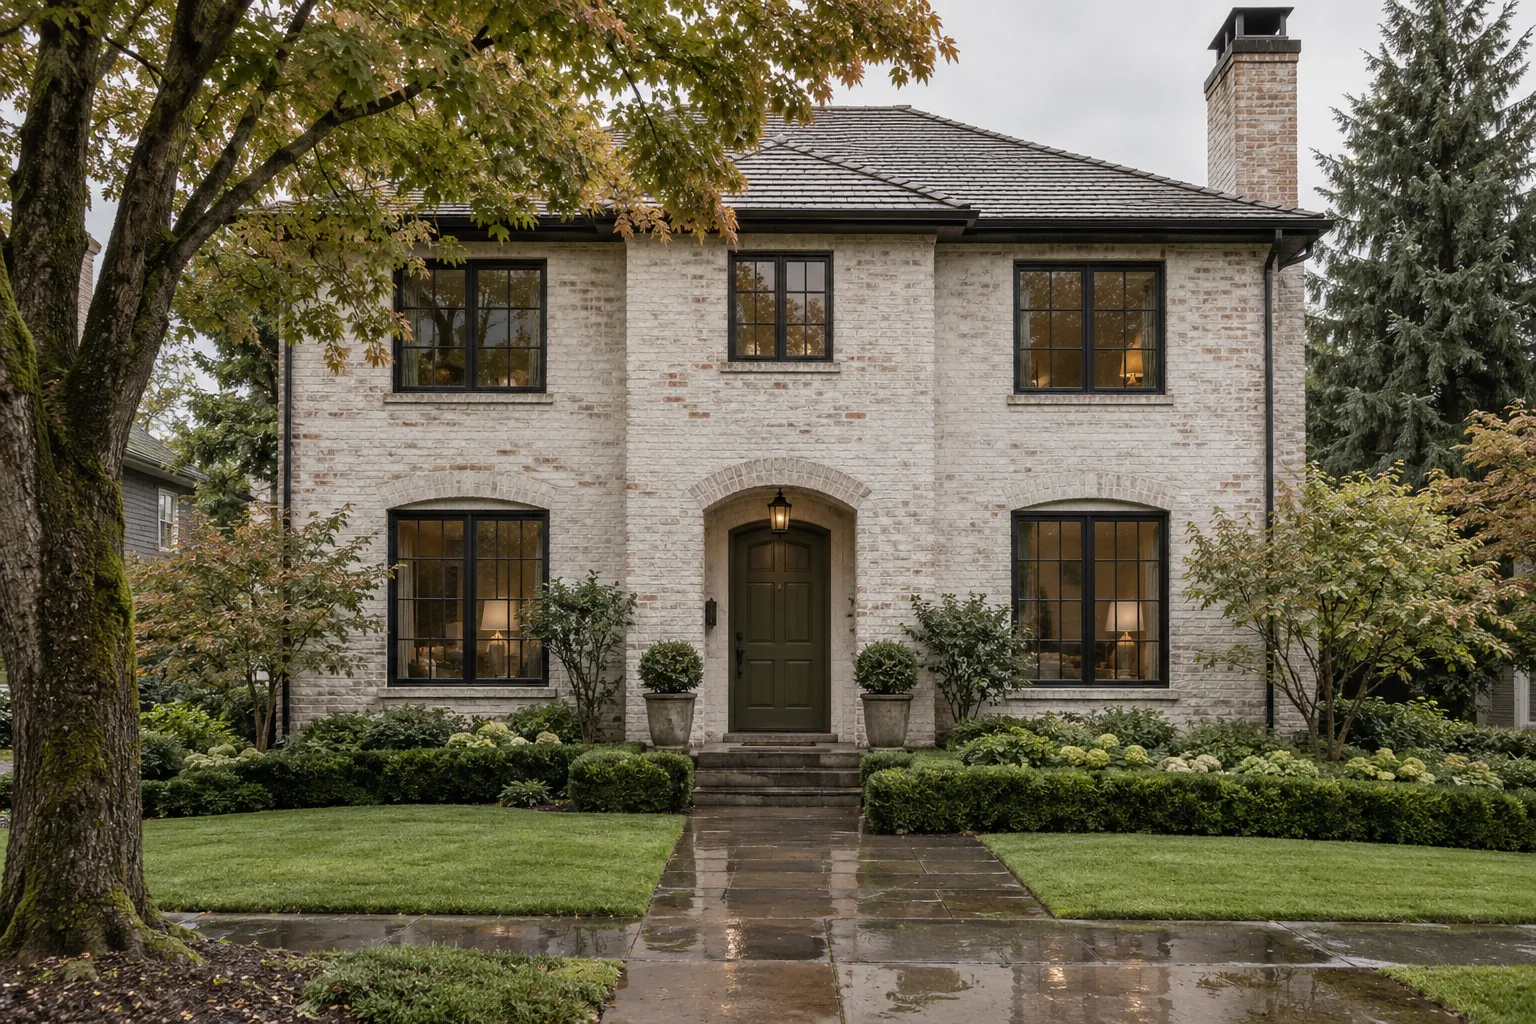
Two-story brick house with soft white limewash
Brick house limewashed in soft warm white
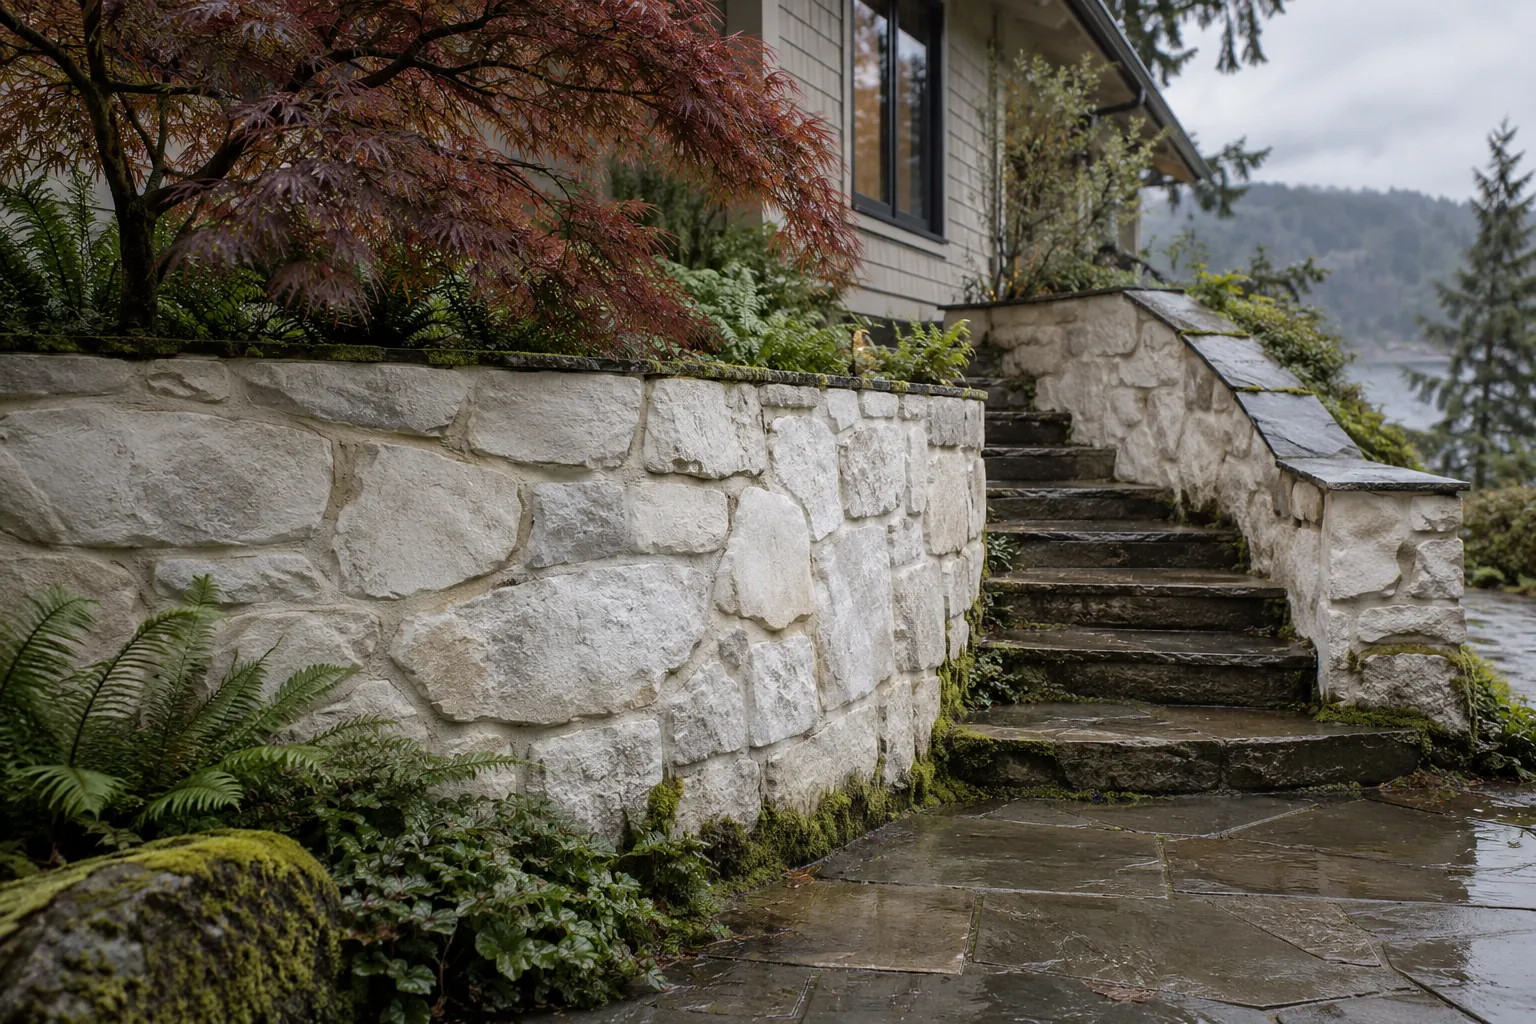
Fieldstone retaining wall and steps limewashed bone white
Fieldstone retaining wall in bone-white limewash
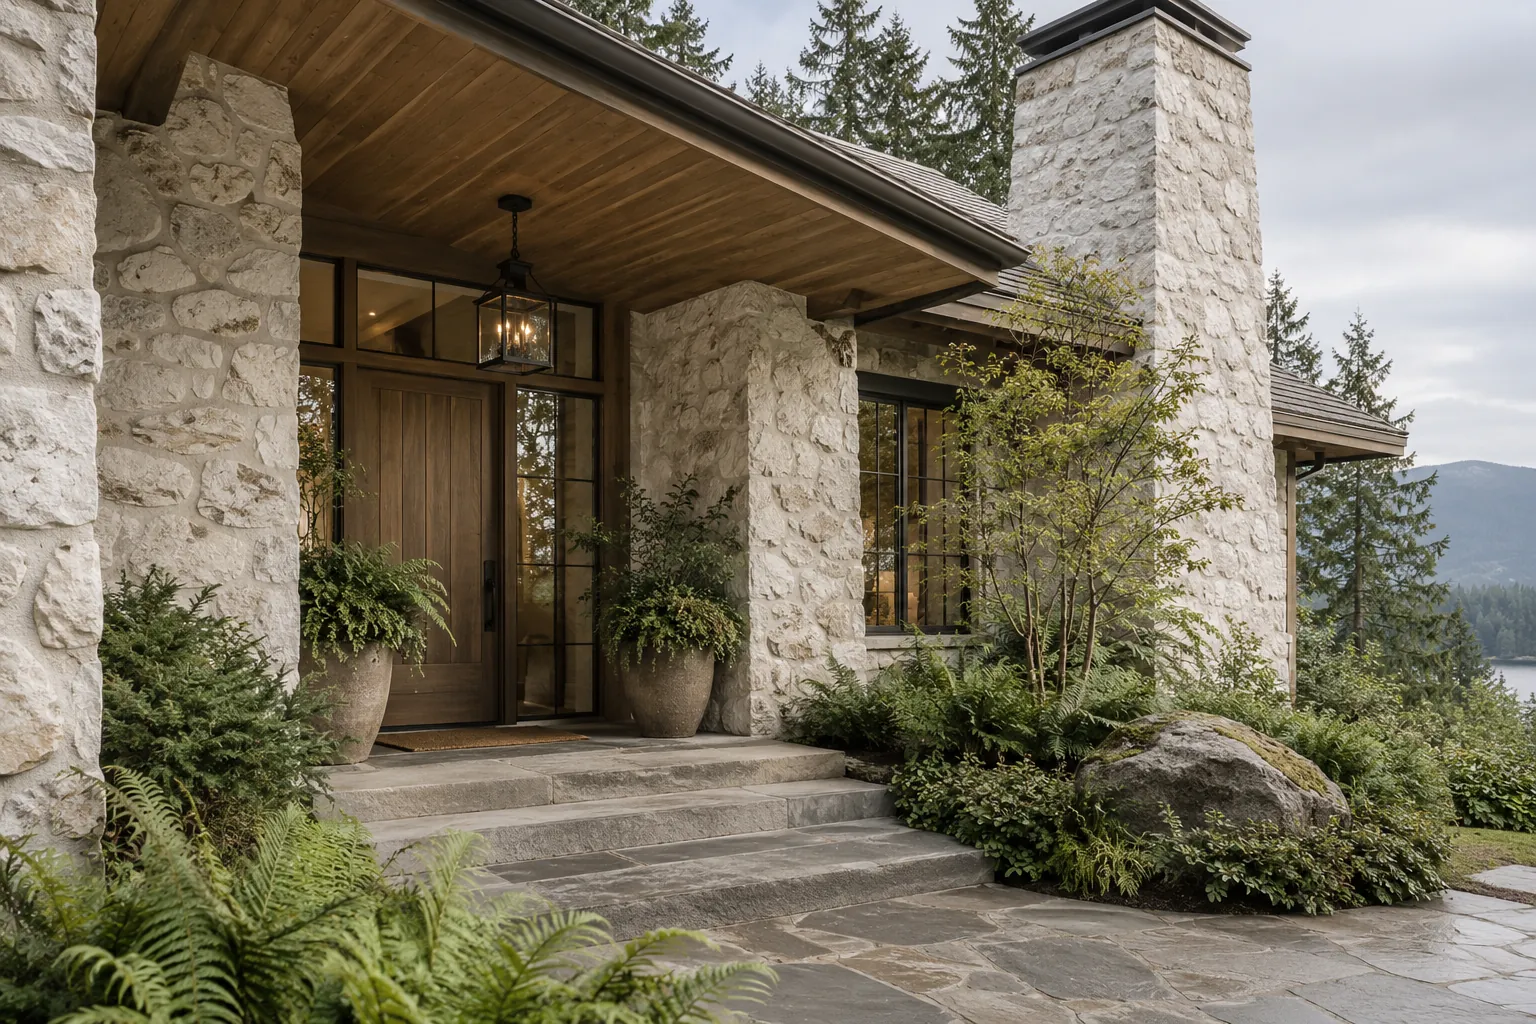
Fieldstone entrance and chimney limewashed bone white
Fieldstone entry and chimney in bone-white limewash
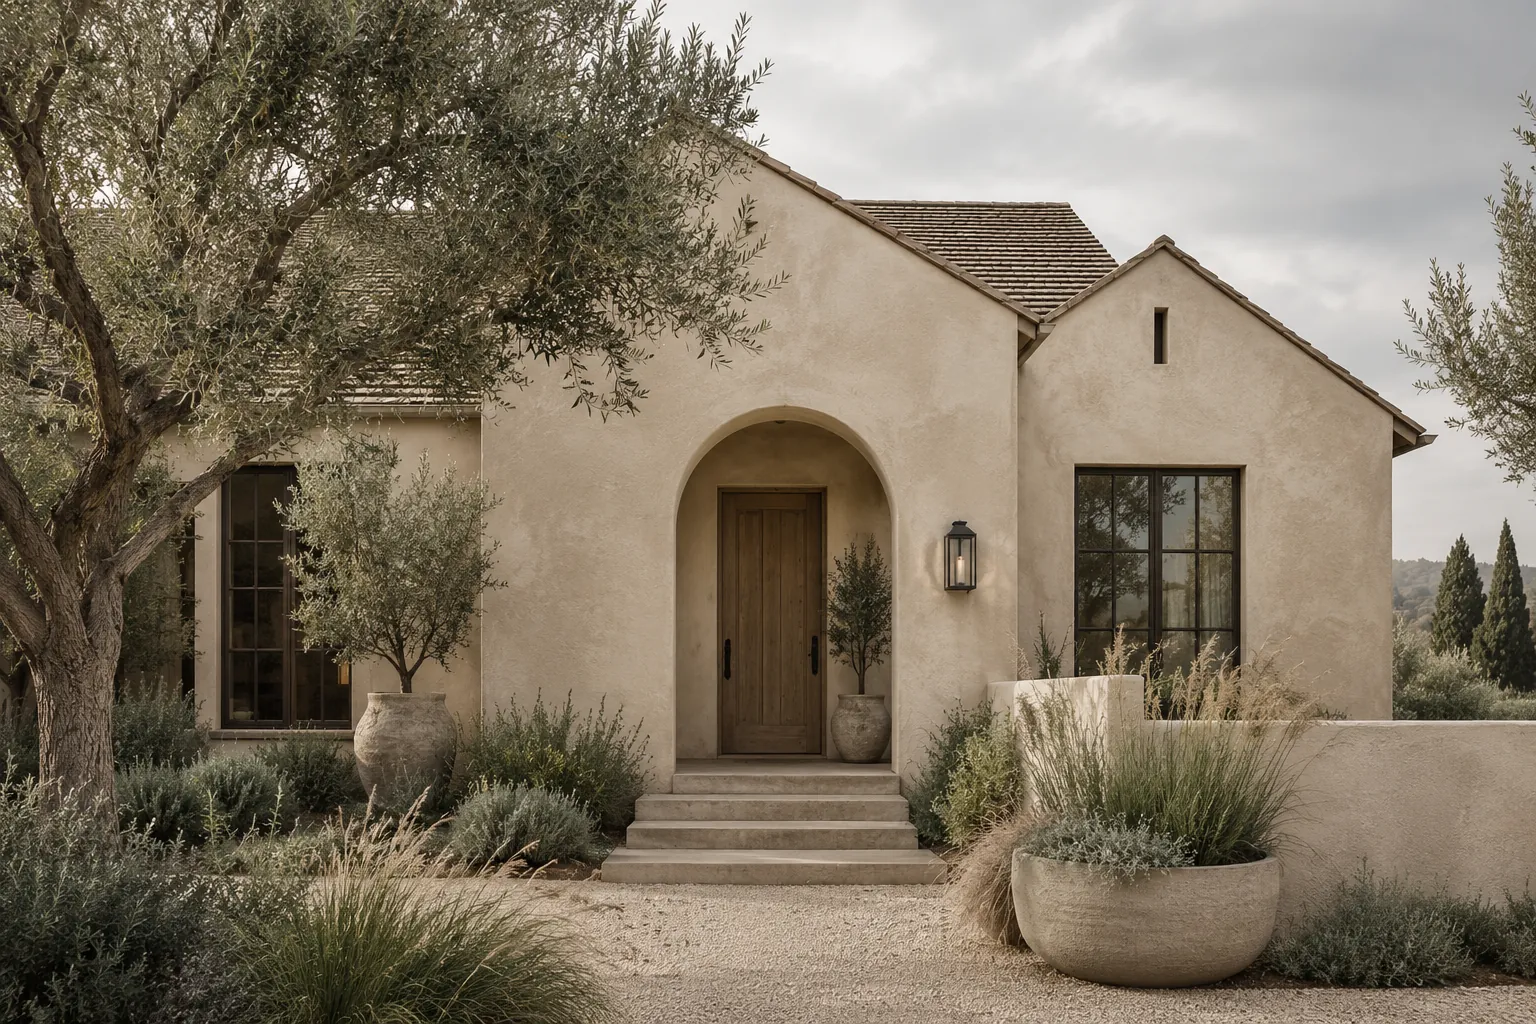
Single-story stucco house in sand-colored limewash
Warm sand limewash on a stucco house
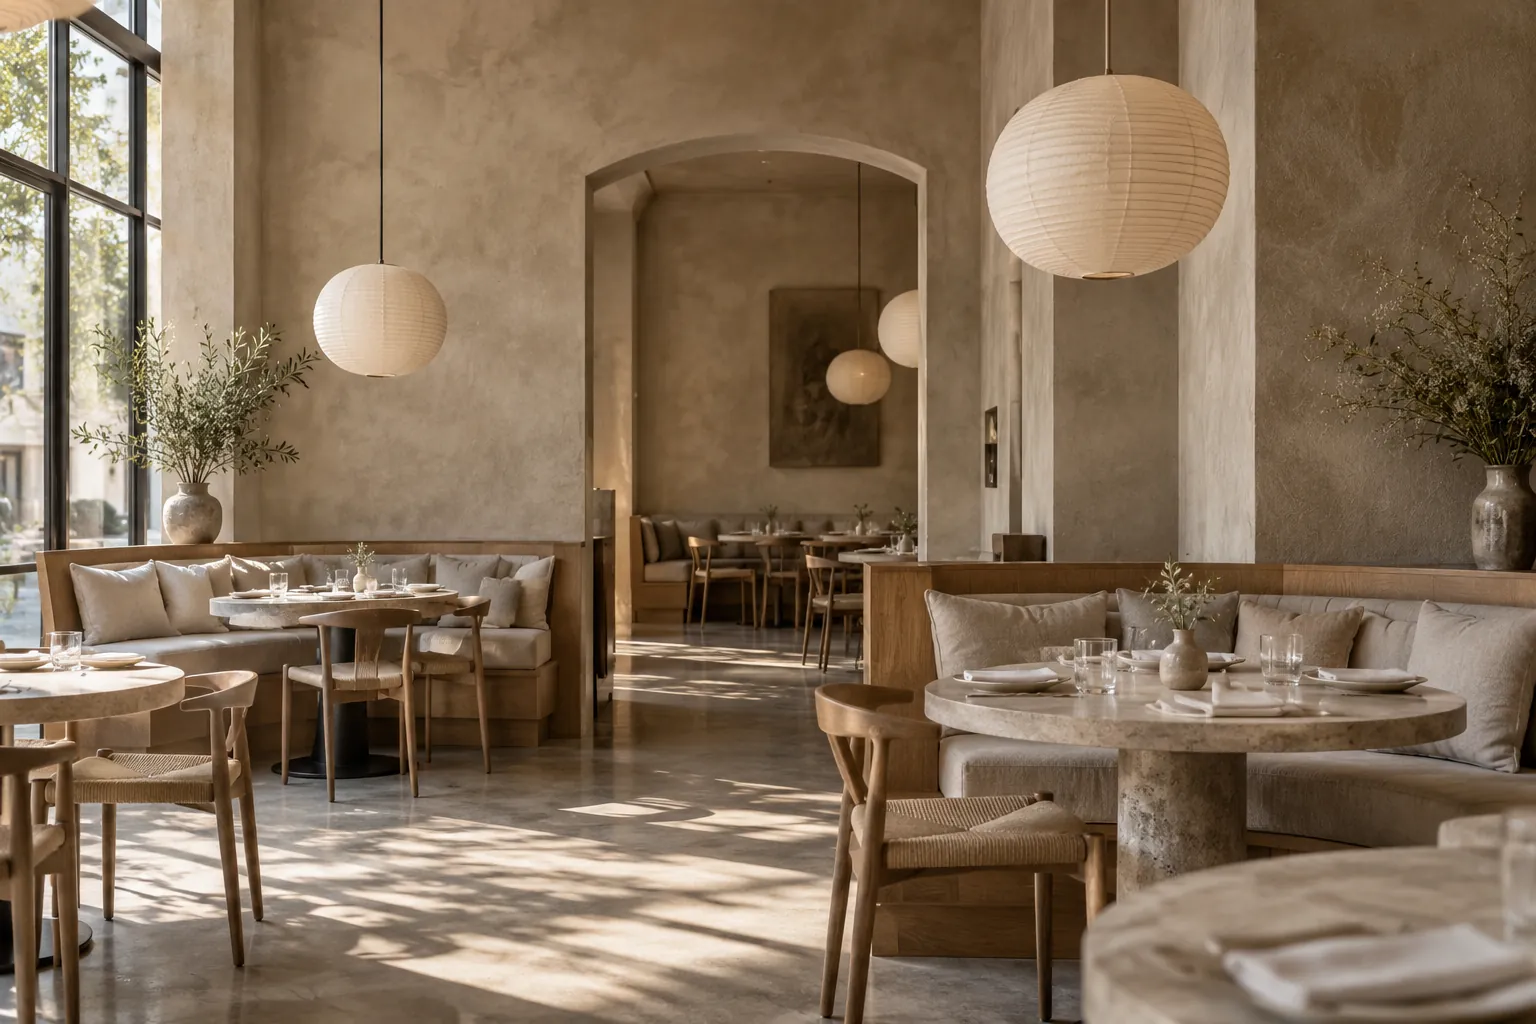
Restaurant dining room with taupe limewash walls
Warm taupe limewash in a restaurant dining room
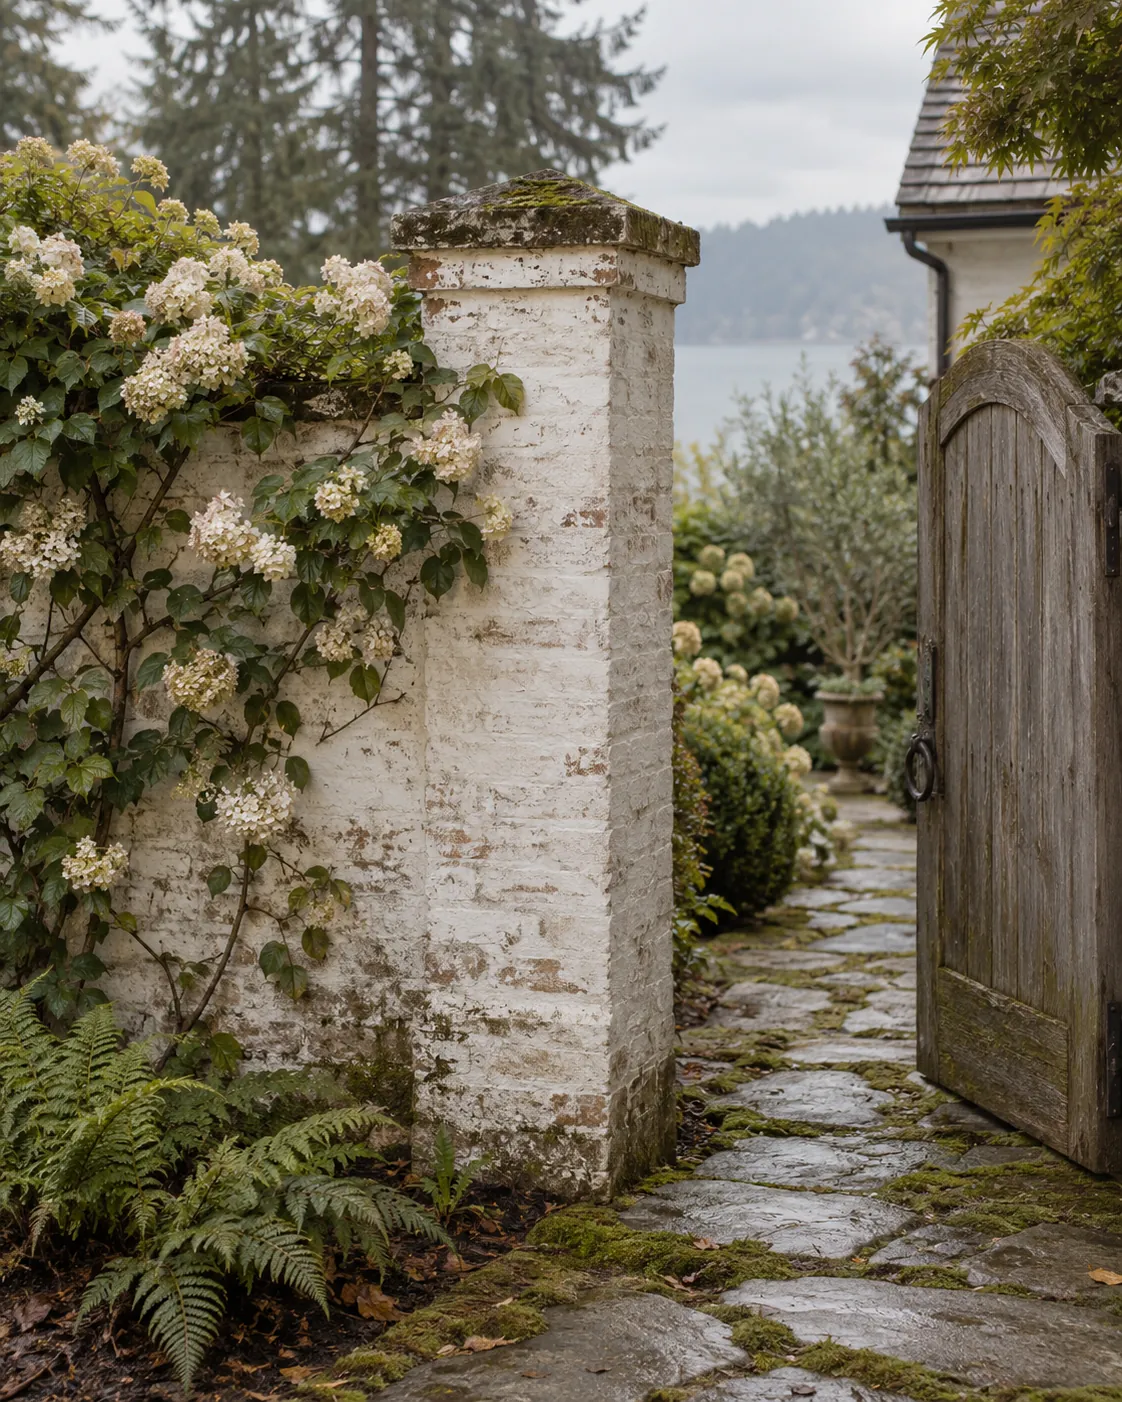
Brick garden pier with weathered limewash
Weathered white limewash on a brick garden pier
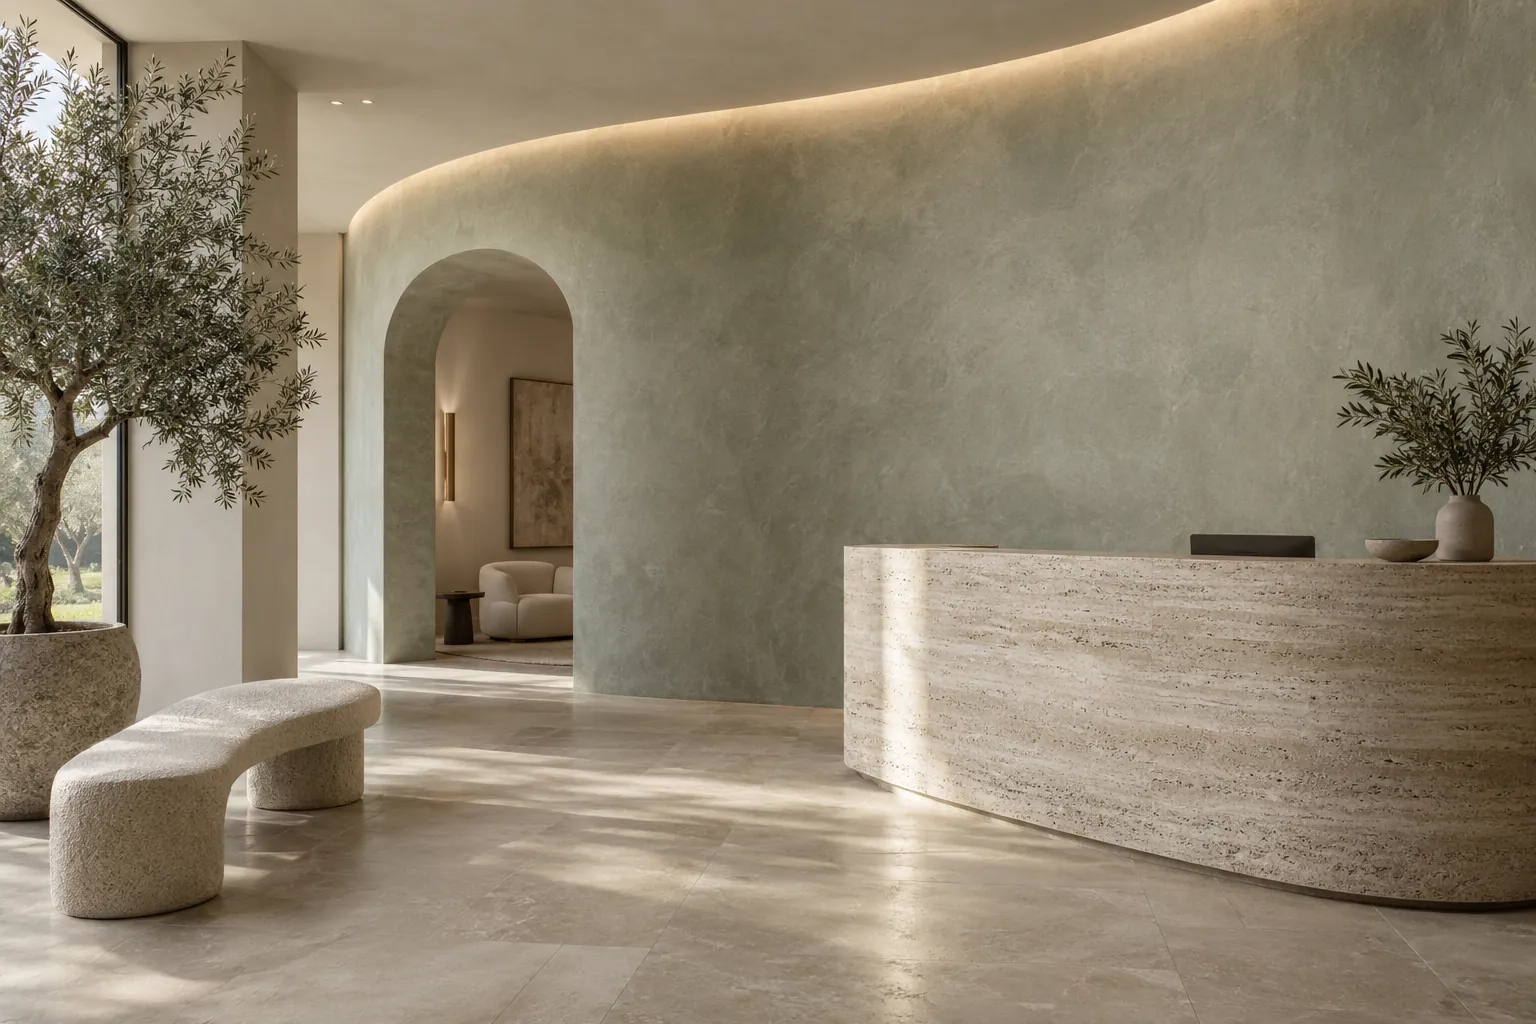
Lobby with a curved gray-green limewash feature wall
Gray-green limewash on a curved lobby wall
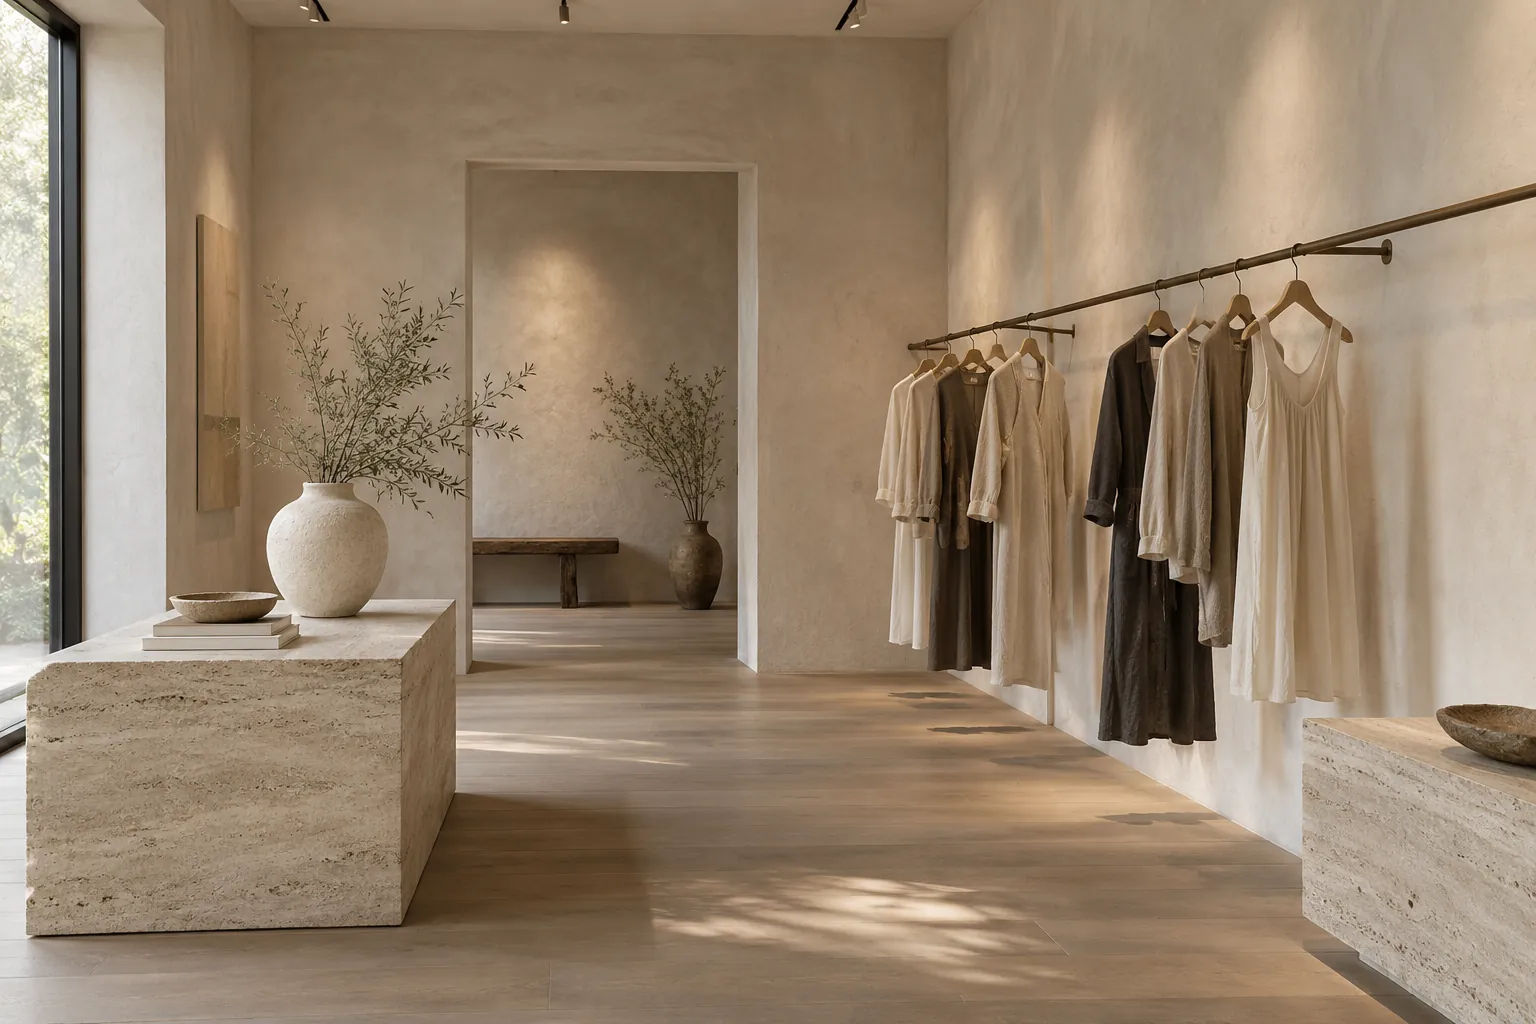
Boutique interior with pale clay limewash walls
Pale clay limewash in a boutique interior
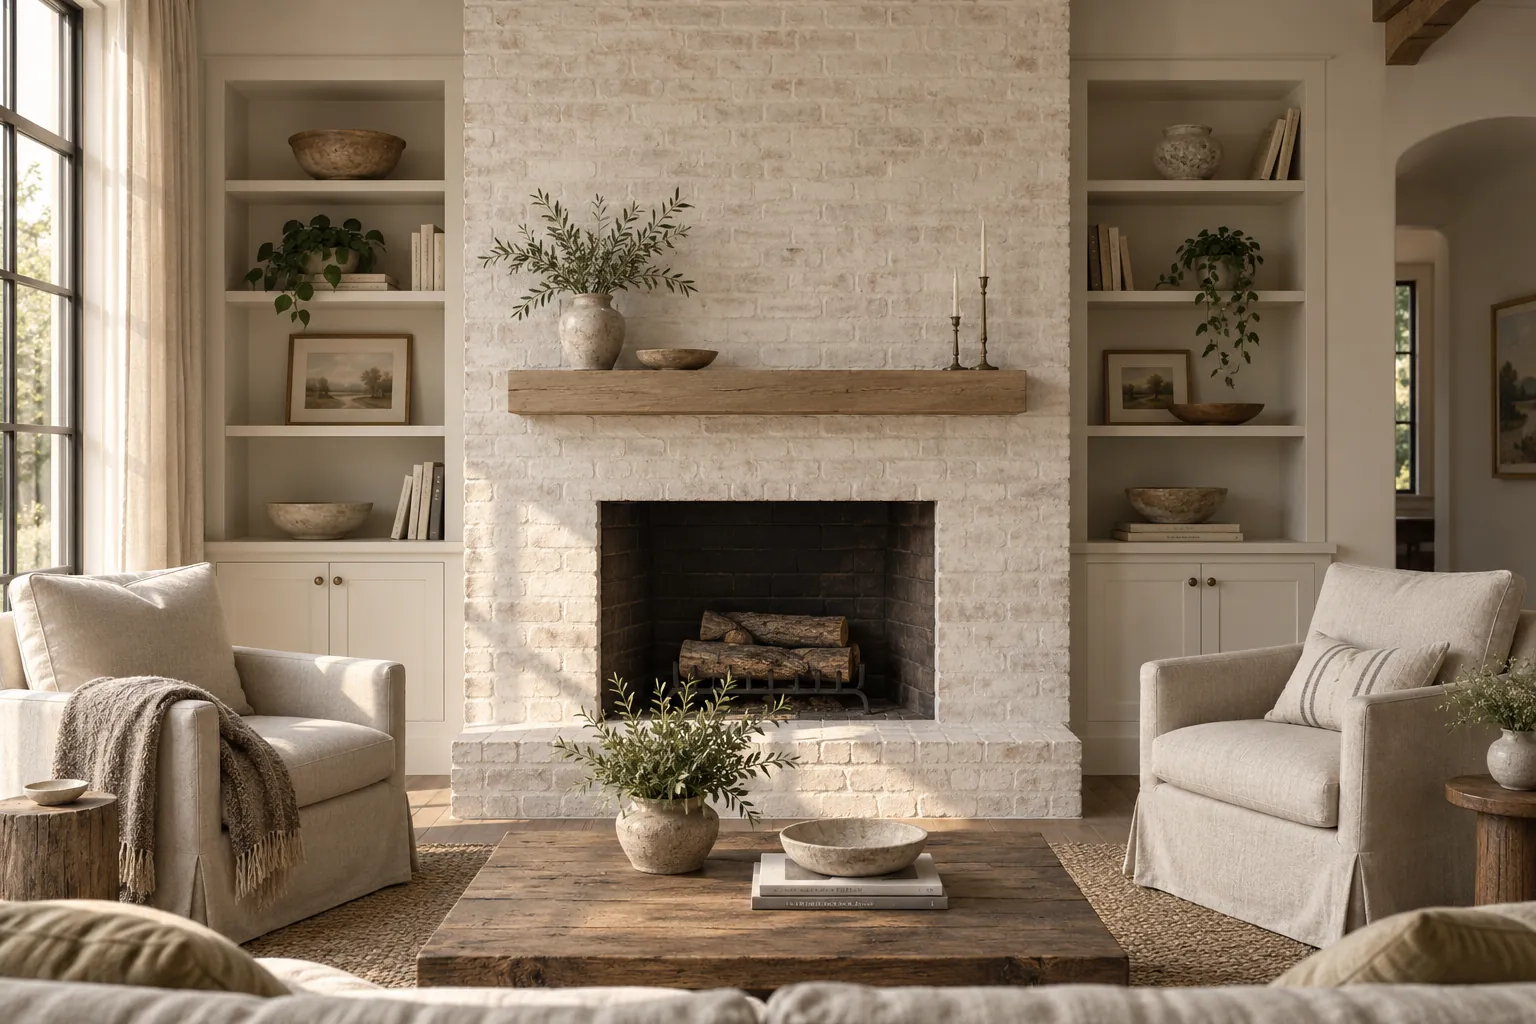
Brick fireplace in white limewash between built-in shelves
Chalky white limewash on a brick fireplace
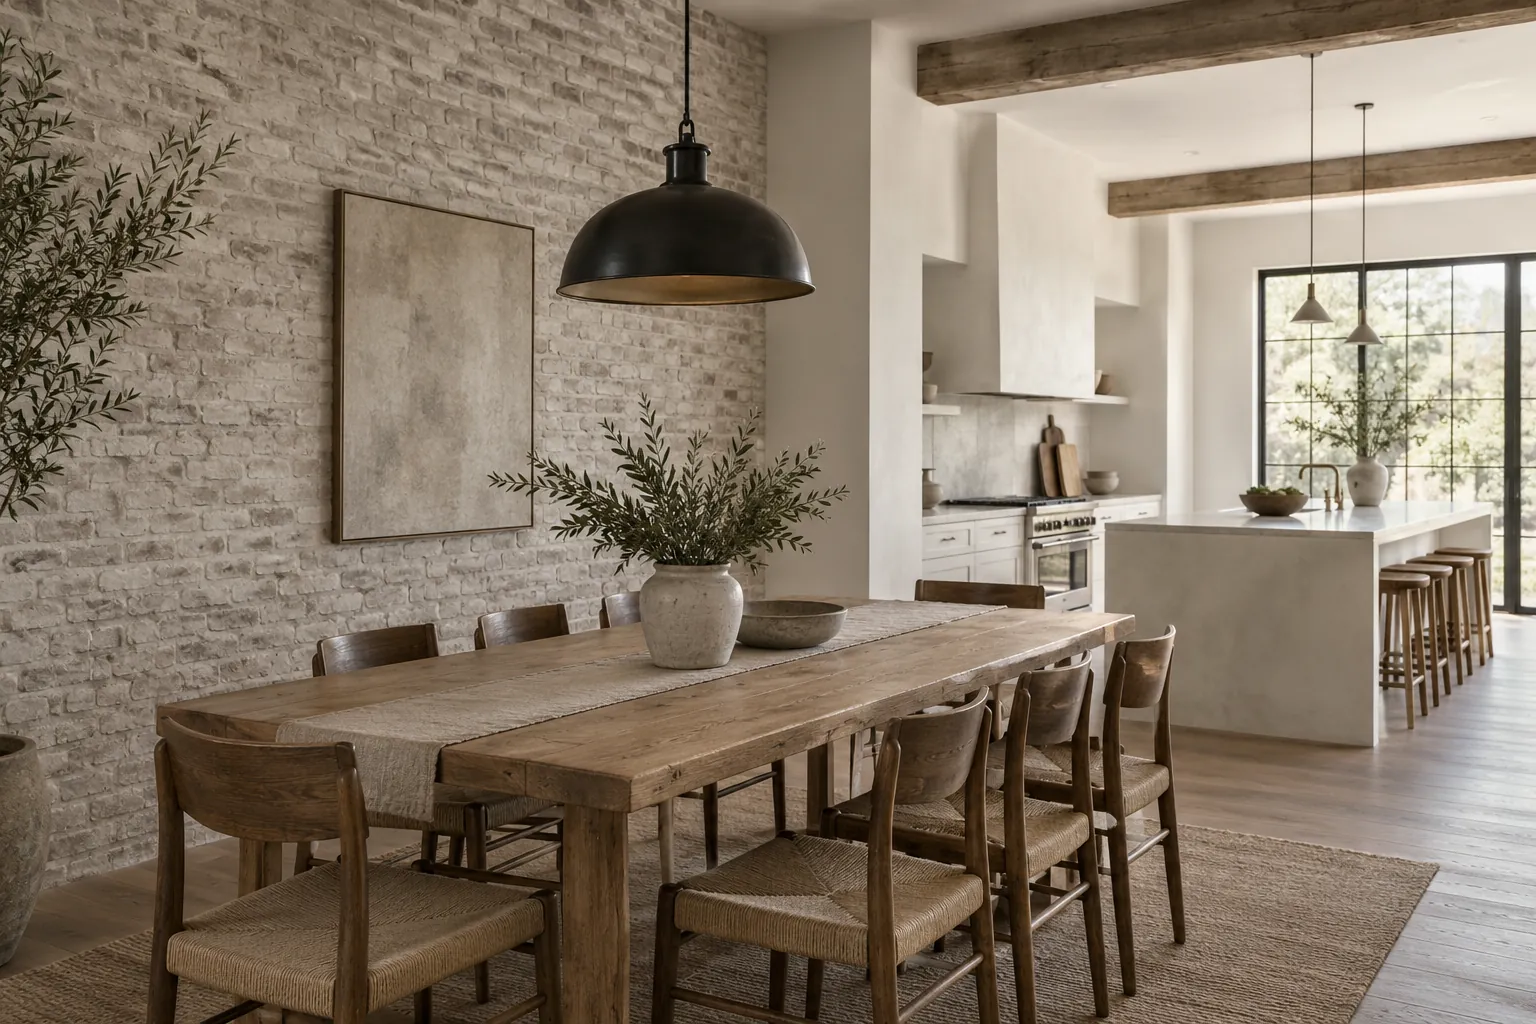
Dining area with a limewashed interior brick wall
Interior brick wall in pale stone-gray limewash
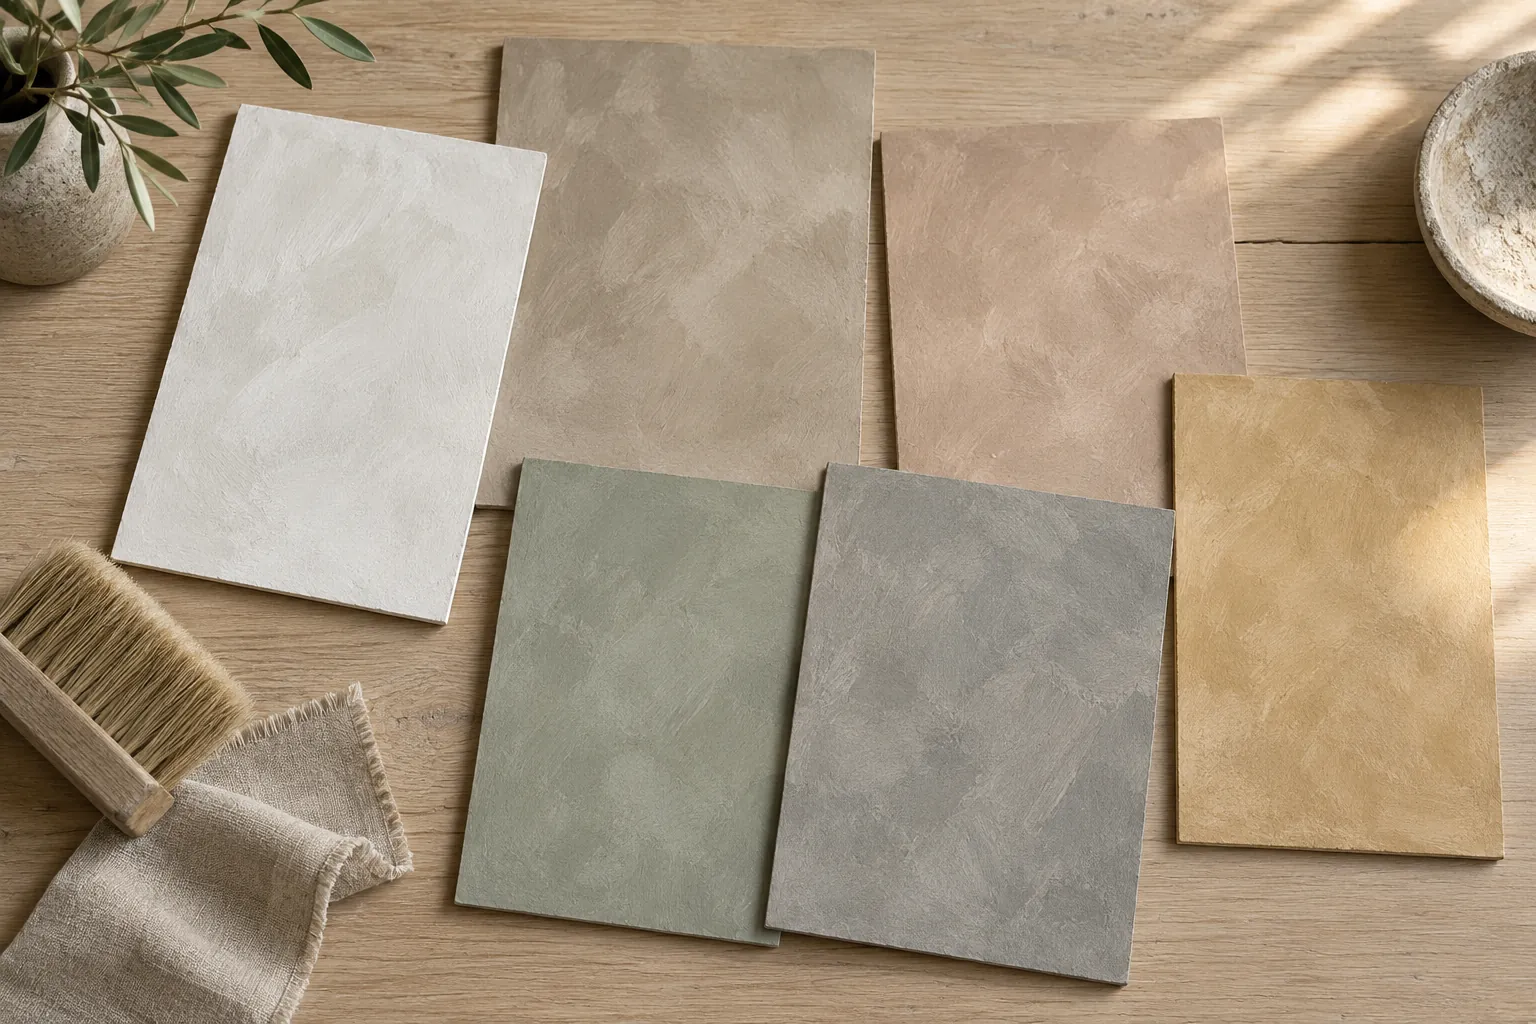
Limewash sample boards in six mineral colors
Hand-brushed limewash sample boards

Request a free limewash quote

Tell us which surfaces you have in mind, roughly how big they are and where the property is. We'll get back to you soon with an estimate or any questions we have. Estimates are free and there's no obligation.

Call (737) 321-7635

Call (737) 321-7635